
Mirantis OpenStack Express 2.0 - Setting up a Project
This is the sixth in a series of short tutorials showing how to perform common cloud operations tasks in Mirantis OpenStack Express 2.0 — Mirantis’ “Private Cloud as a Service”
In our last tutorial, we looked at defining flavors that describe new VM configurations. Now we’ll look at some higher-level administrative functions, for creating projects and users. We’ll also look at basic Neutron network and router creation, needed to make new projects baseline functional.
Basic Ops Tutorials
Mirantis OpenStack Express 2.0 — Mirantis' "Private Cloud as a Service" — is the fastest way to get your hands on a fully-functional, optimally-configured, private OpenStack cloud, running on hosted bare metal and able to scale on demand. This series of short tutorials shows how to perform common cloud operations tasks in MOX 2.0, and offers links to documentation and learning resources. Pro tip: though aimed at Mirantis OpenStack Express, many of the techniques discussed here will also work on a private OpenStack cloud deployed using Mirantis OpenStack.
Tutorials:
- Adding New Custom Boot Images
- Launching a VM from a Boot Image
- Creating a Block Storage Volume
- Attaching and Using Volumes
- Creating new VM Flavors
- Setting Up a project
Step by Step
projects — sometimes also called ‘Tenants’ or ‘Accounts’ — are organizational units that let you control access to cloud resources and manage their consumption. You can equip project environments with specialized networking, create custom images for their exclusive use, and perform other task-appropriate customizations.
Let’s start by logging into Mirantis OpenStack Express Horizon as the admin, navigating to Projects in the Identity Panel subtab of the Admin menu, and clicking on Create Project.
First, give your project a name and an optional Description. You’ll see a checkbox that gives you the choice of initializing your product in an Enabled state, or not. That’s useful if you have administrative work to do inside the project before granting associated users access. Disabling an active project — something you might try later on — can be used to bar users temporarily from accessing project resources without terminating running instances.
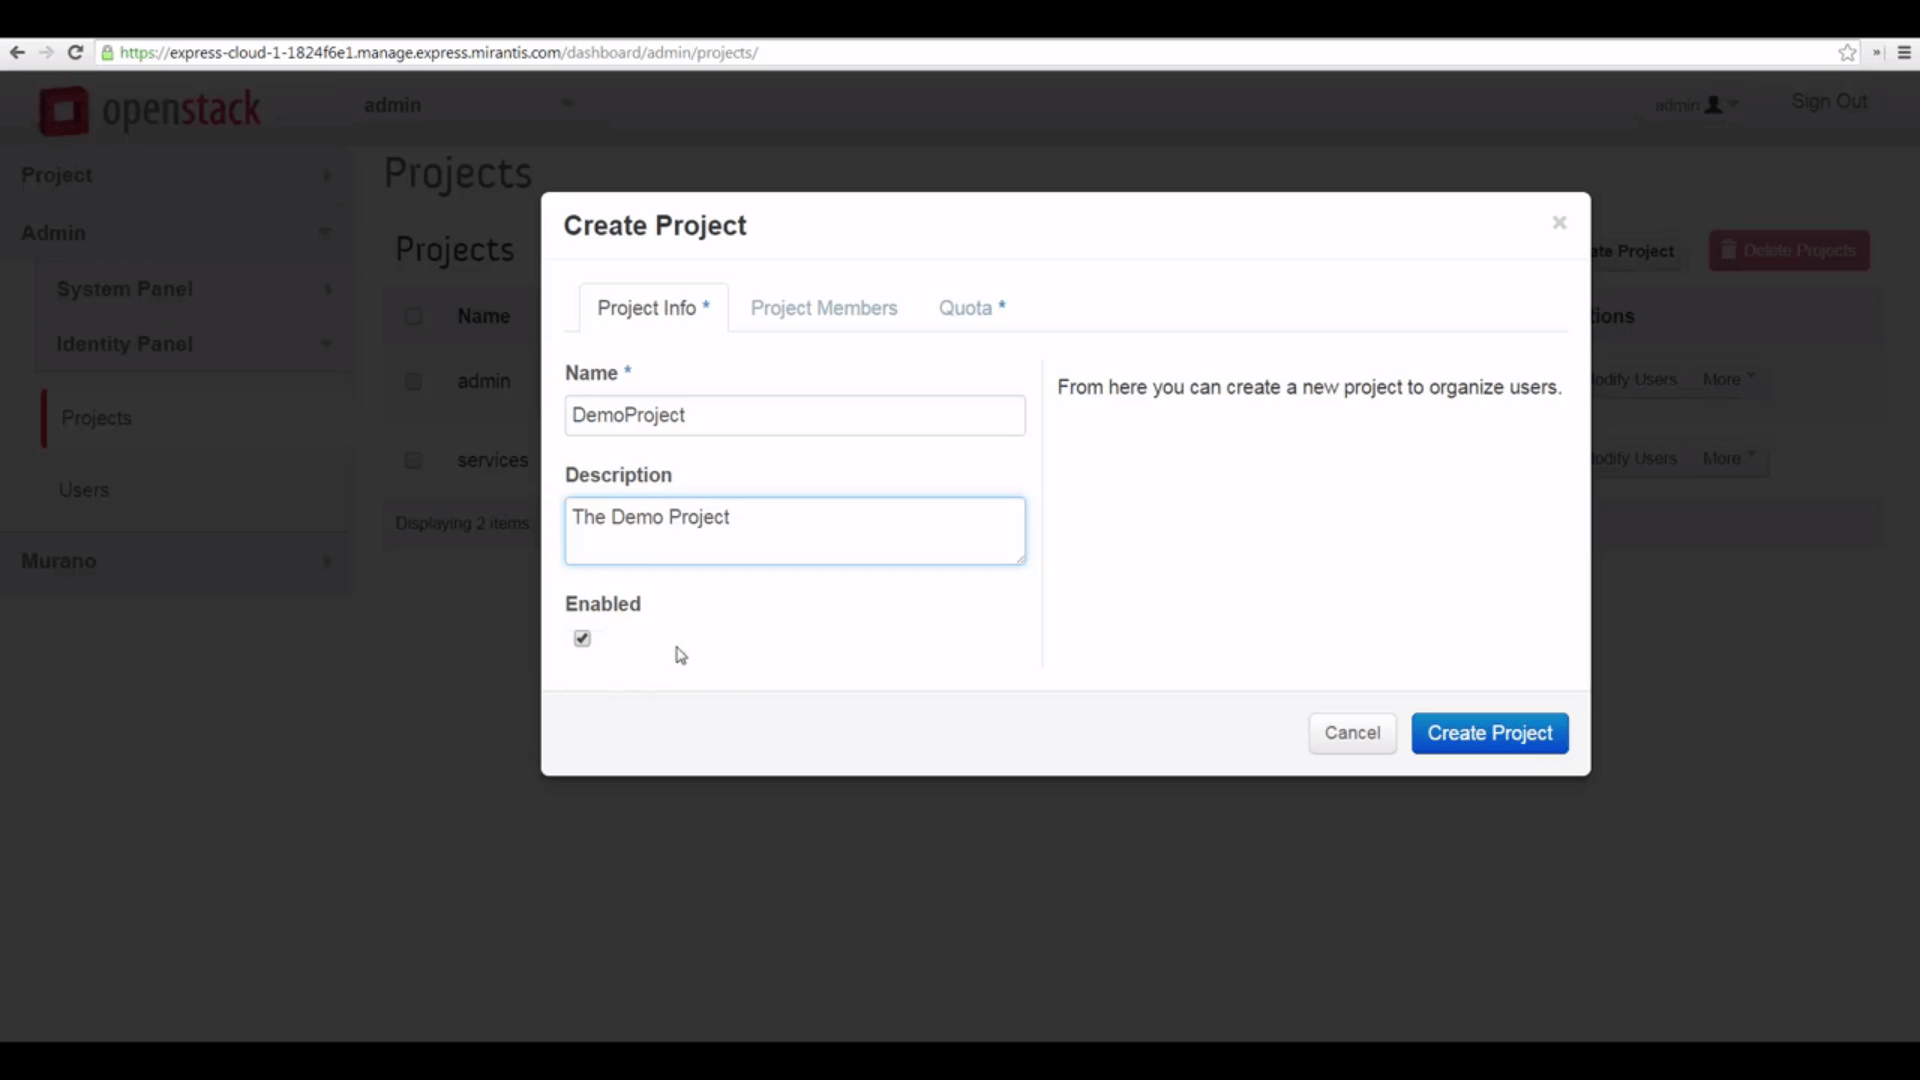
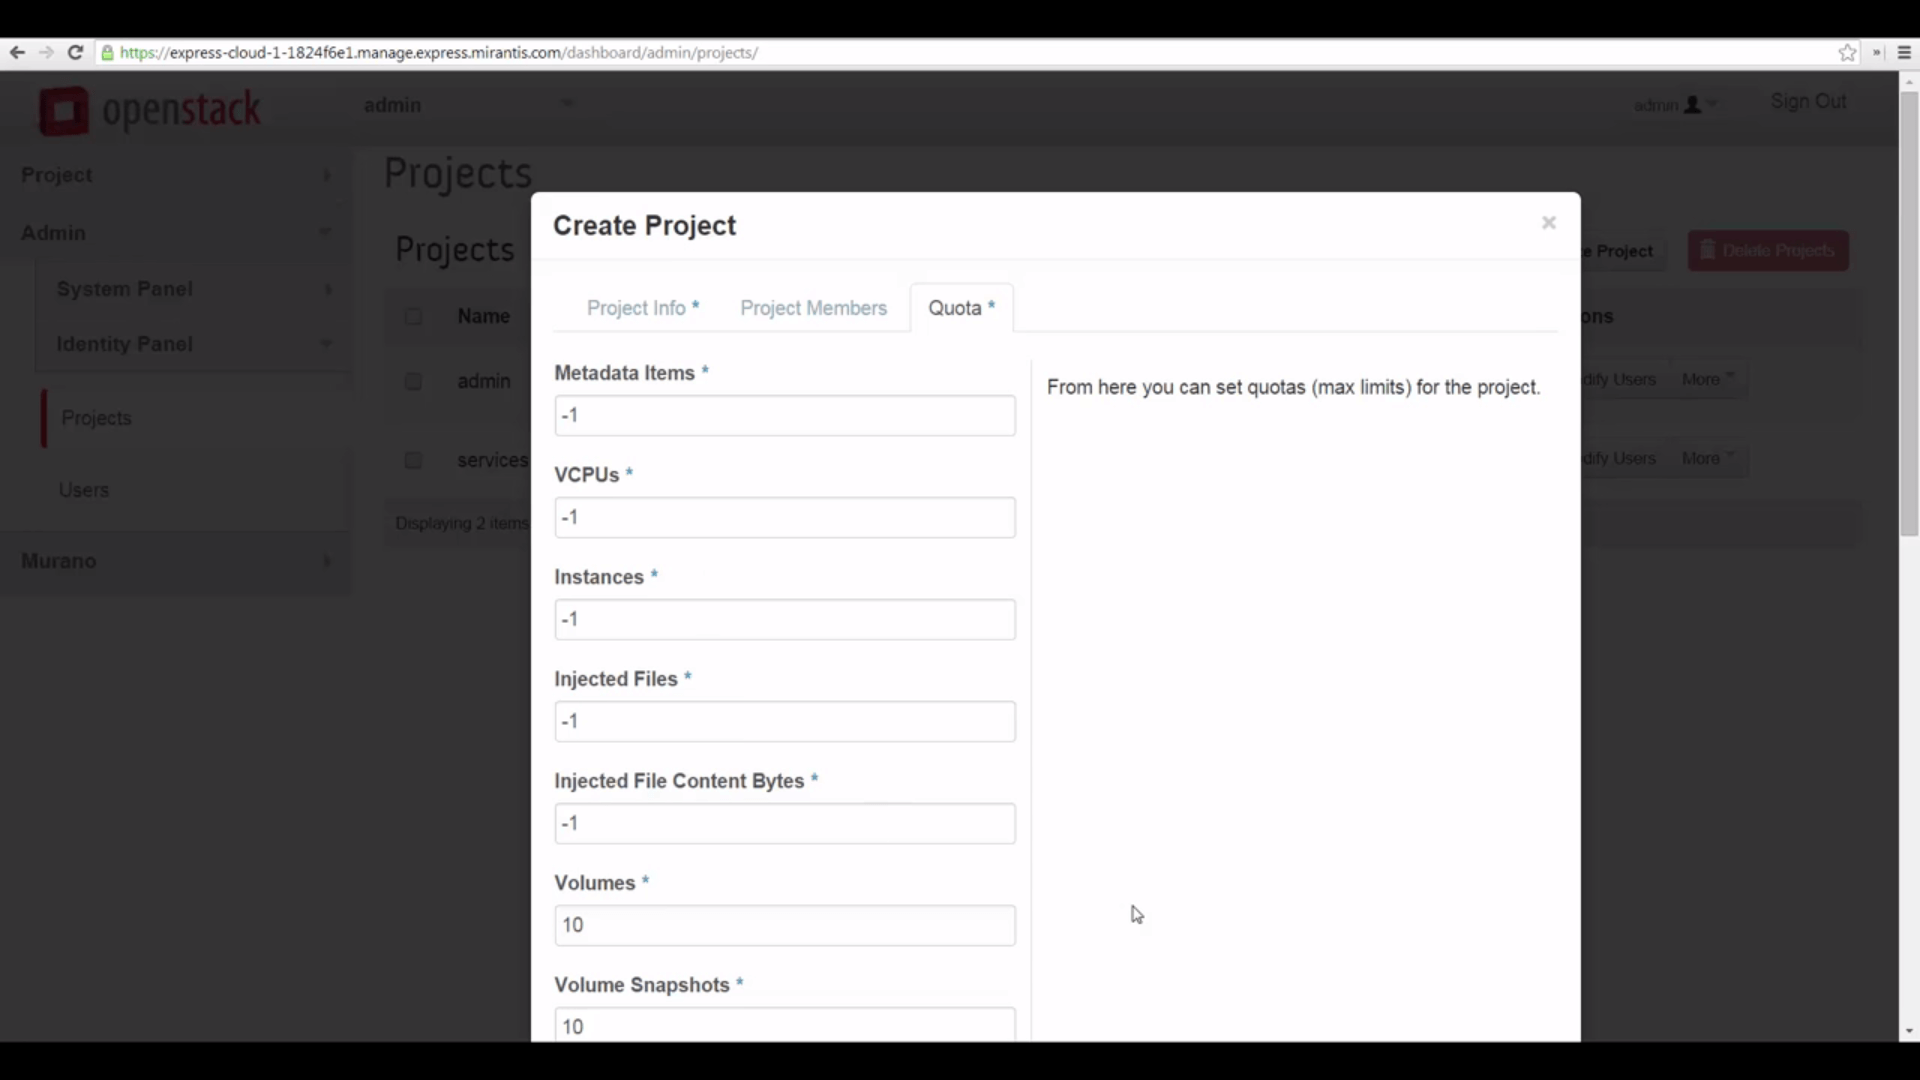
When you create a new project you can assign quotas for various resources: OpenStack will prevent users of the project from going over these limits. But these aren’t the only quotas OpenStack makes available for customization and fine-tuning: you can access more from the command-line interface. Users, too, can be given quotas with respect to projects — we’ll cover quotas in detail in a future tutorial. Meanwhile, the defaults Mirantis OpenStack Express puts in place are generally sensible — they make some resource allocations fixed and others not — the latter are parameterized with a -1.
You can also assign users to the project from the project Members tab. For now, we’re going to make sure the admin user has access. In a moment, we’ll create a new user and add them to the project. Meanwhile, let’s finish creating the project.

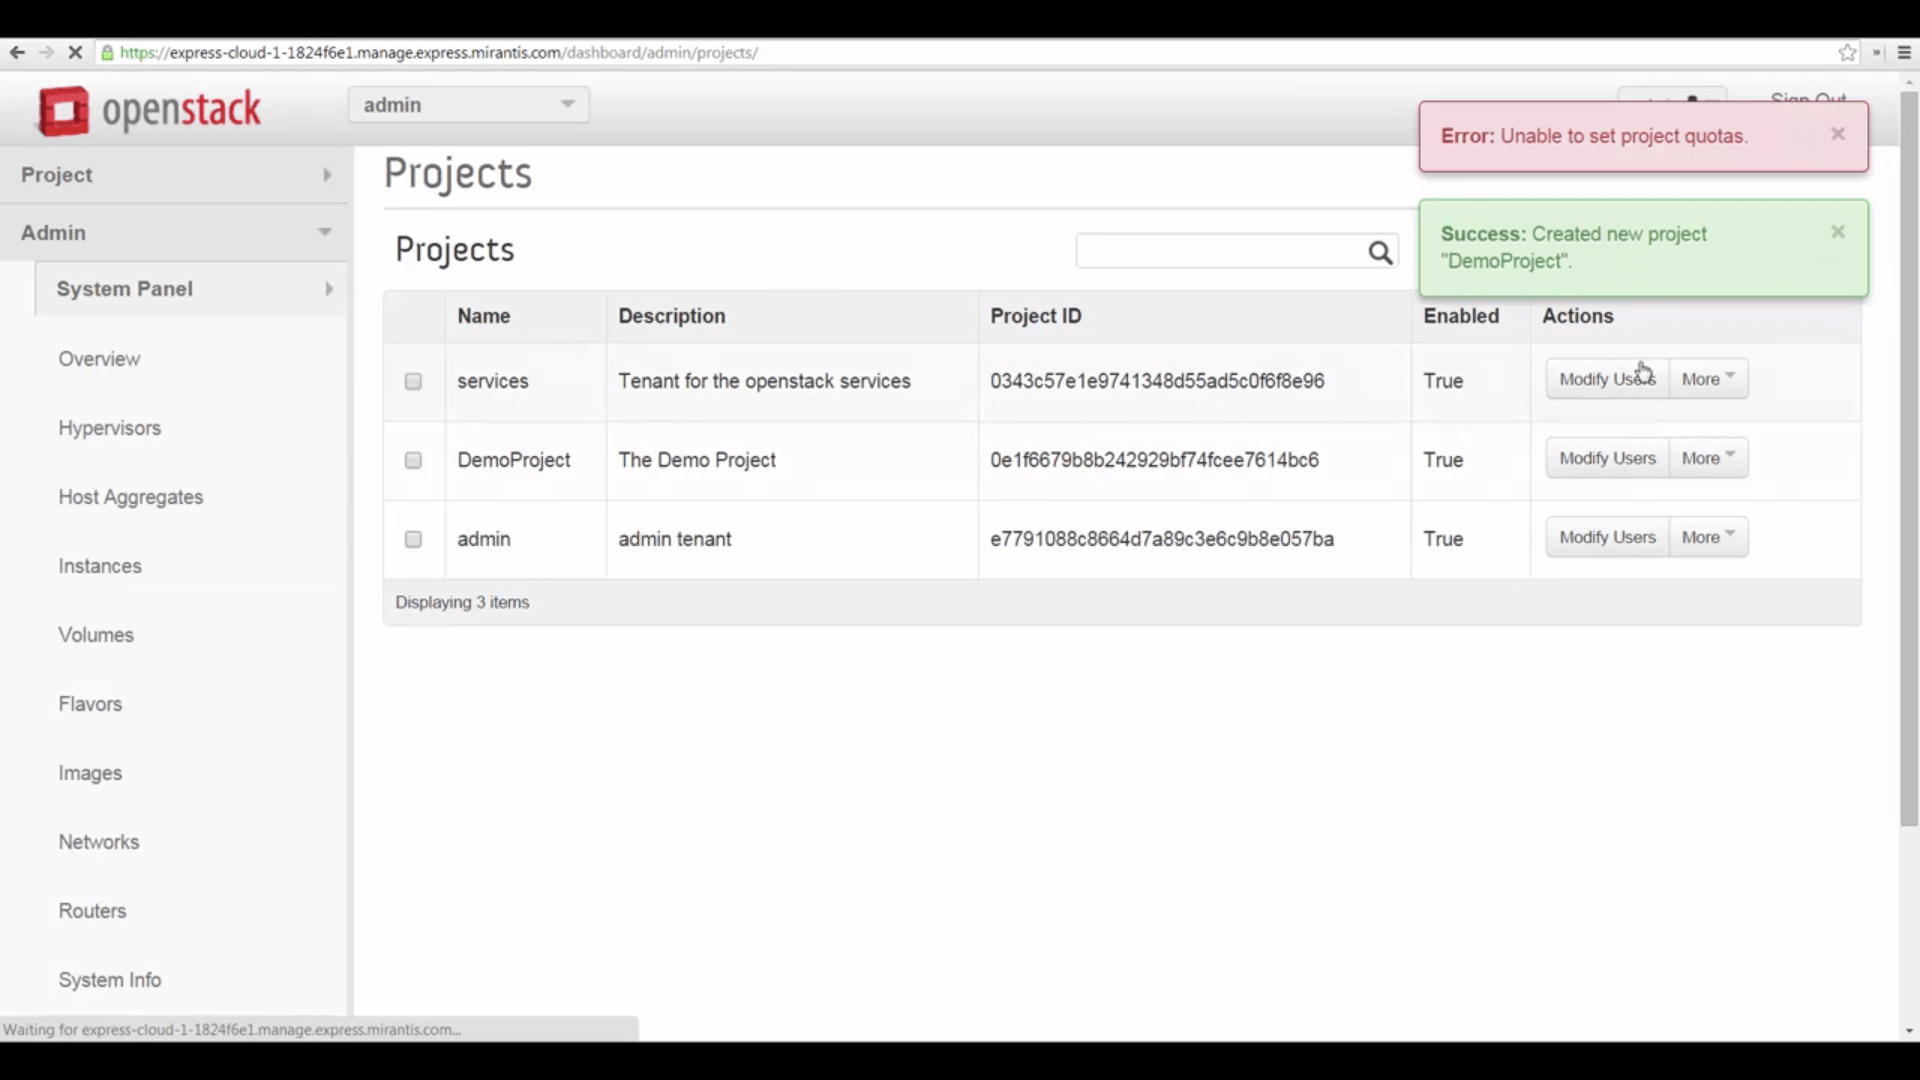
You’ll notice that OpenStack seems to throw an error here, though it also reports successful project creation. This simply means that we left the default quotas in place, some of which were specified as ‘unlimited.’
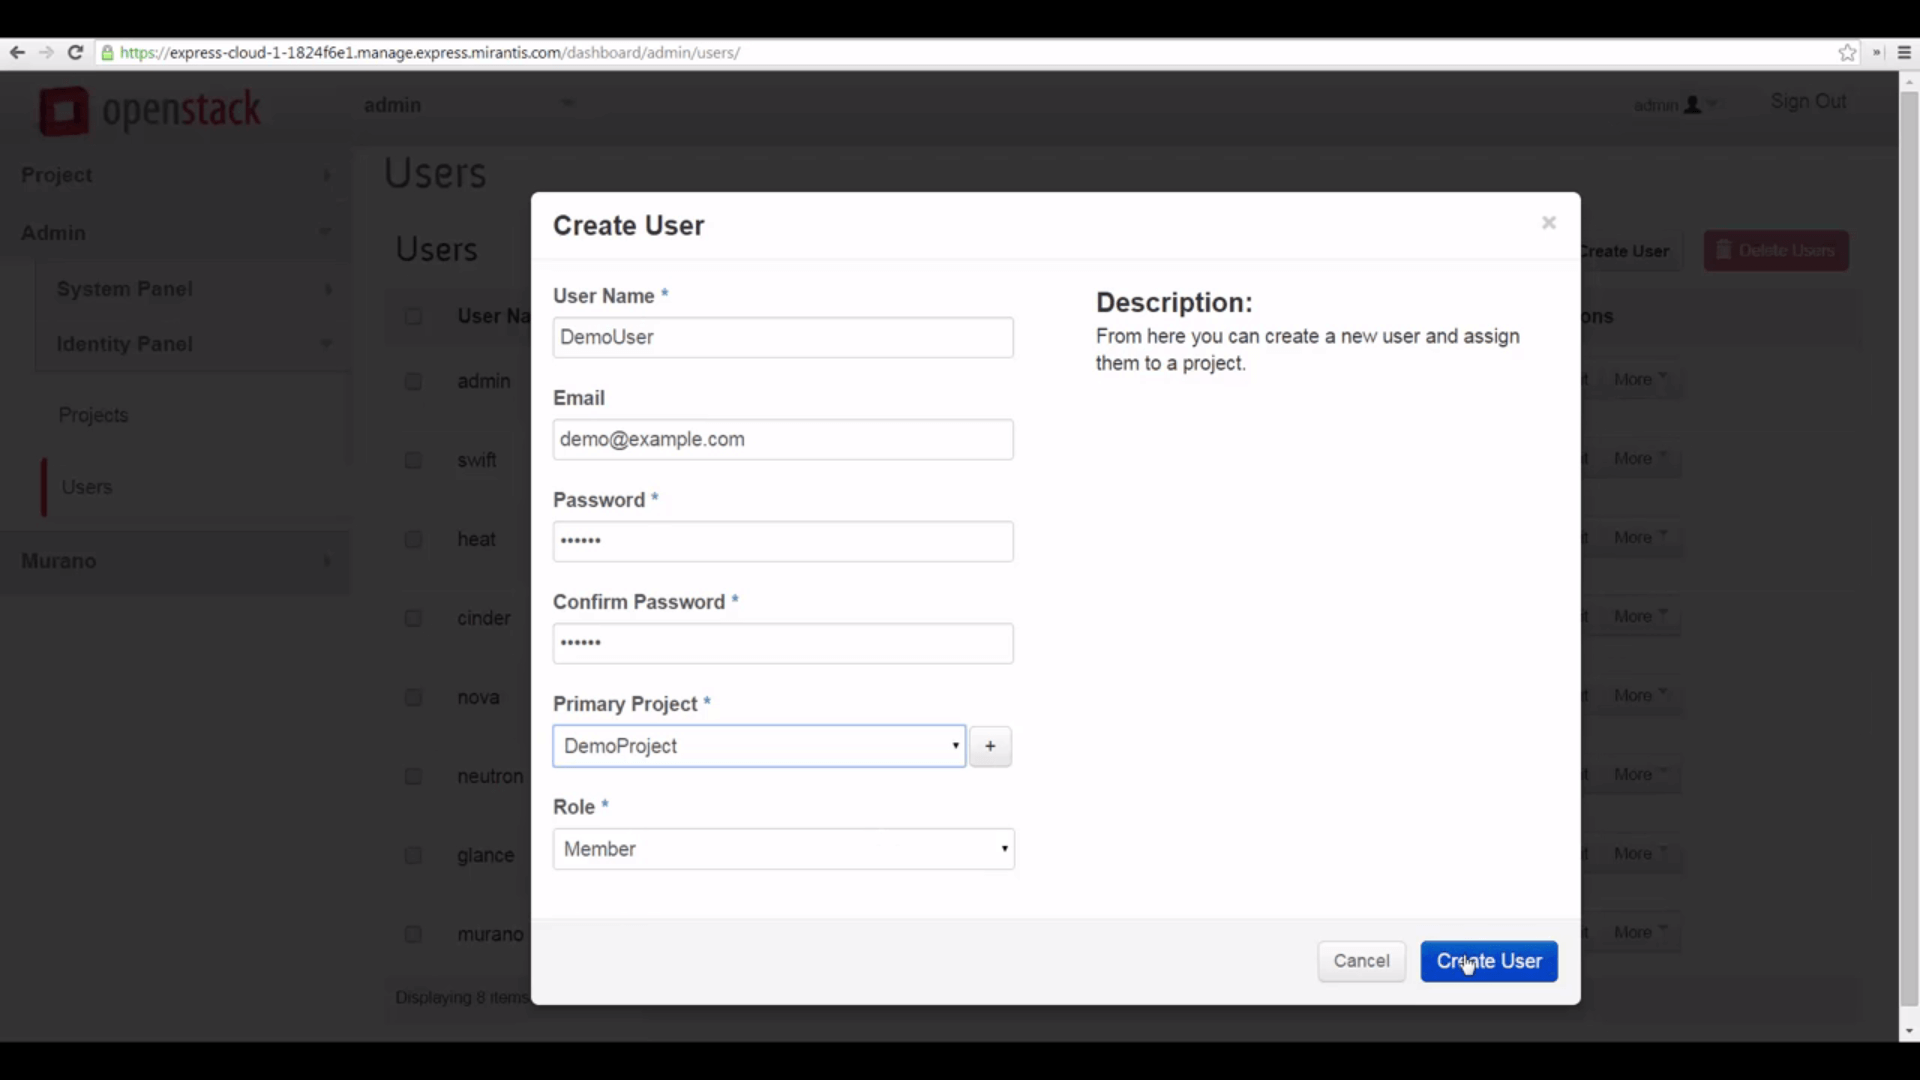
Now that we have a project, let’s go to the Users tab and create a user. Give the user a name, insert their email, and specify a password. Associate them to the project we just created, and give them a Member role. The ‘+’ button, here, raises the Create Project dialog: we can create projects from the Create User interface. Click create user.
Now let’s switch to our new project as the admin user, by clicking on the popdown in the upper left.
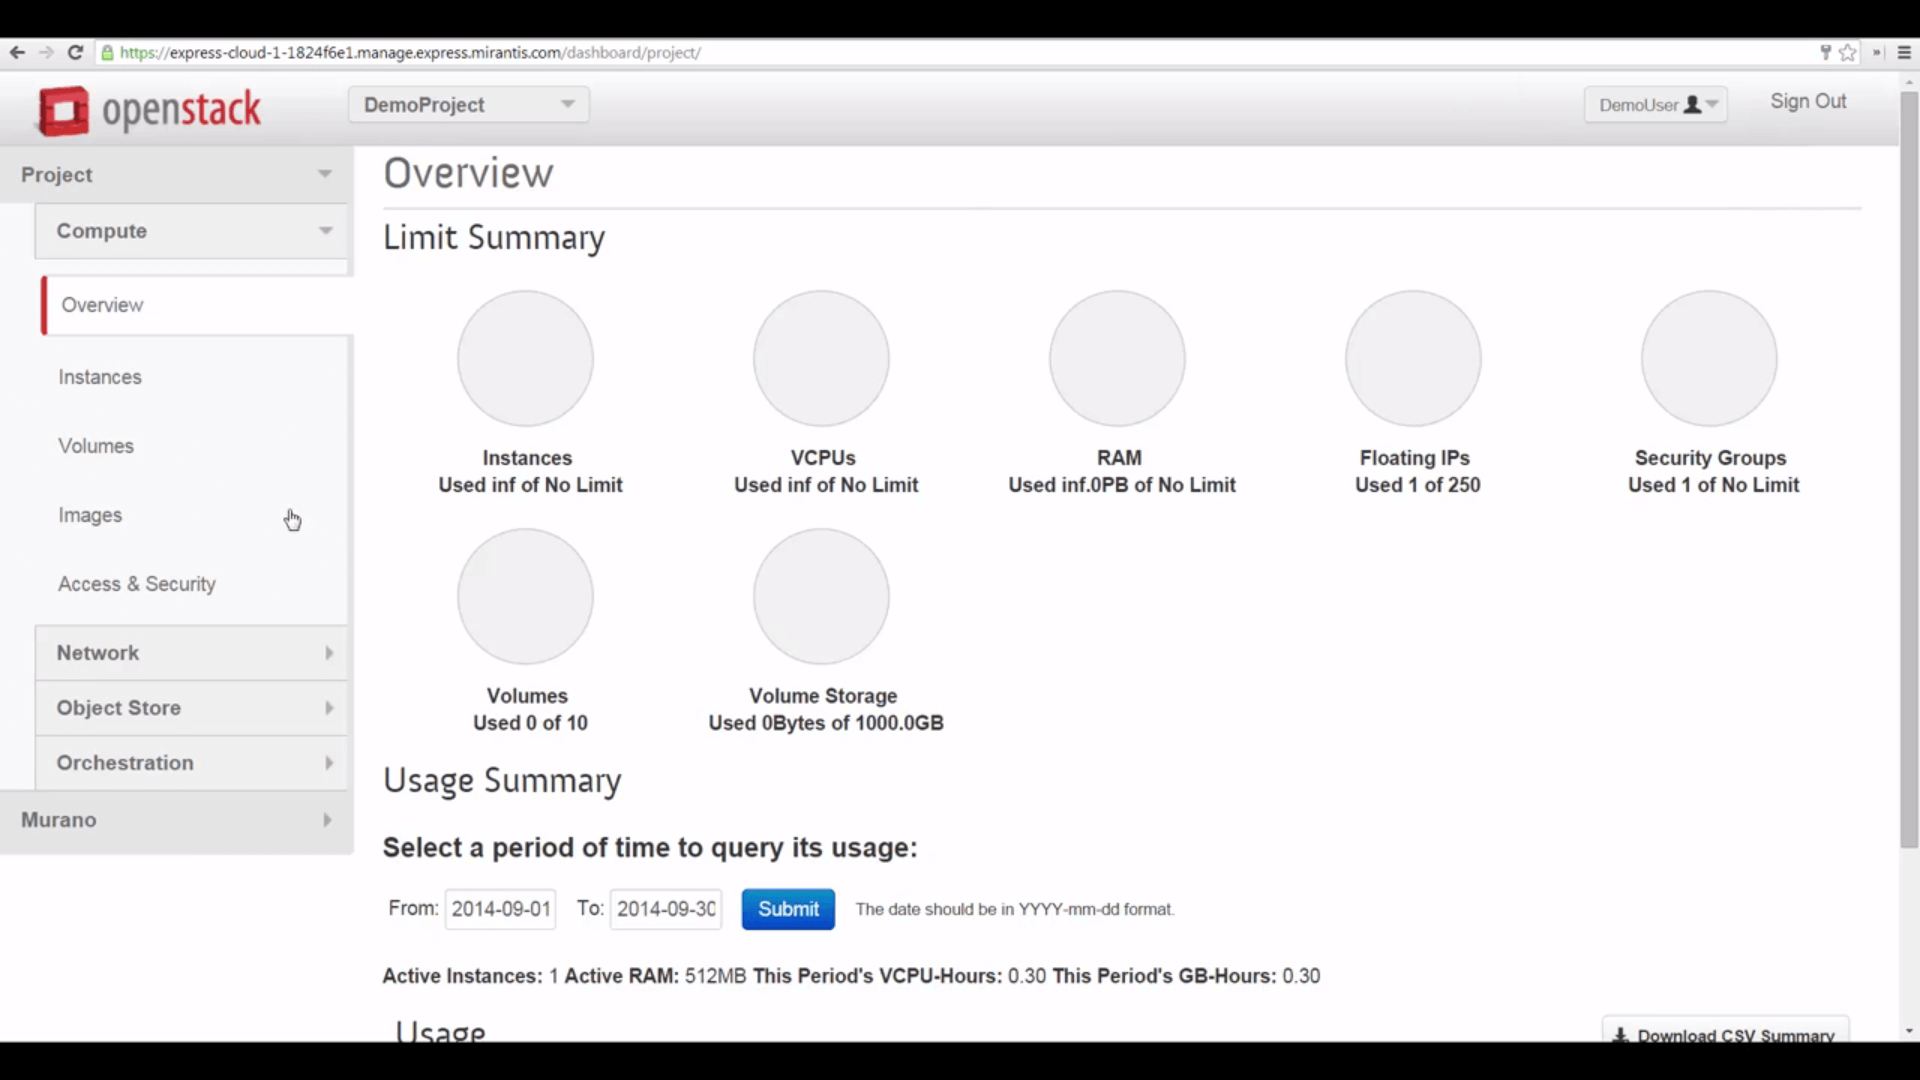
As you can see, the Horizon display is now a little different. We don’t have access to high-level administrative functions. No instances are active yet. We’re seeing a more-limited view of the system.

Certain things are in place for us. For example, Mirantis OpenStack standard boot images are all defined as Public, so we can use them.
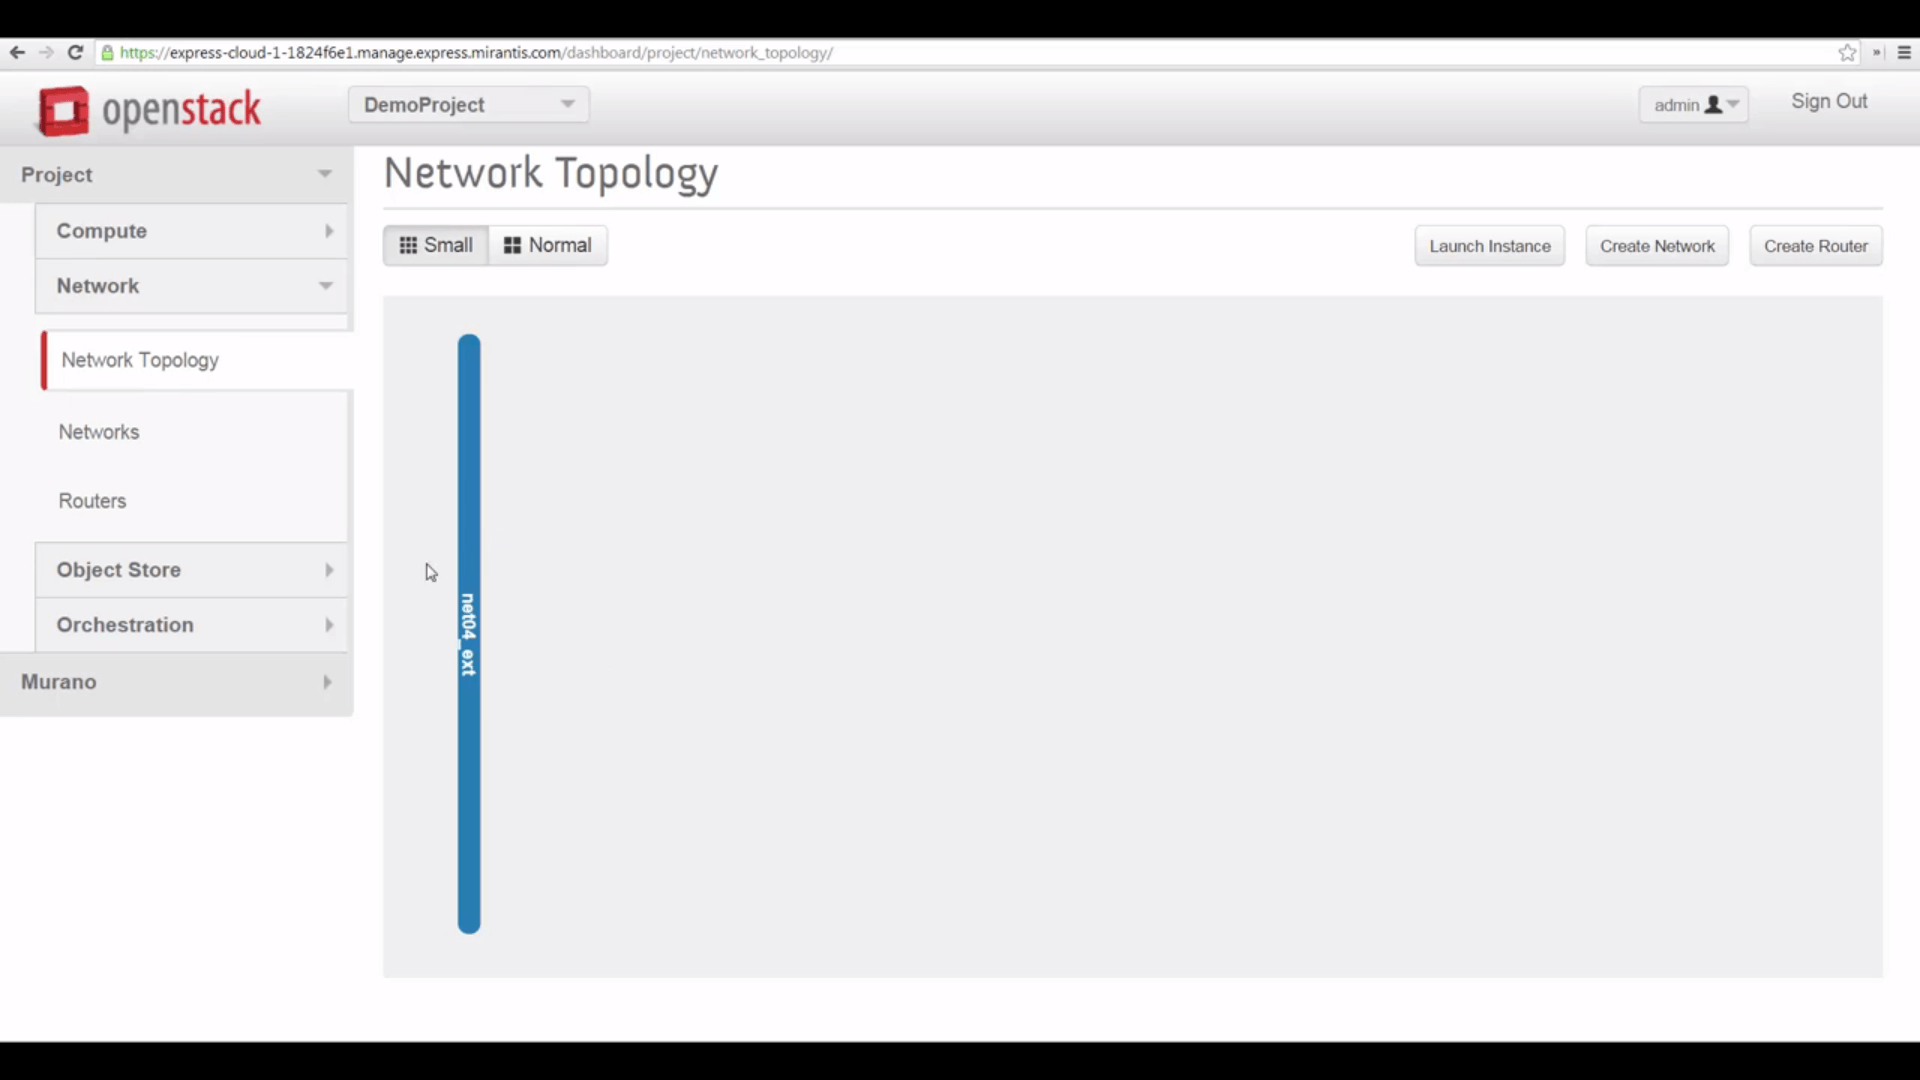
But we switch to the Network tab, look at topology, and see that we have no network, except for the net04_ext external, public network, owned by the Admin. That’s a problem, because we can’t start VMs without a local network and a subnet. And we can’t do much with VMs unless we can reach them from the internet.
So we’re going to quickly make a new network under Neutron that’s functionally identical to the default network at toplevel — configured by Mirantis OpenStack Express’s Fuel installer, when our cloud was deployed.
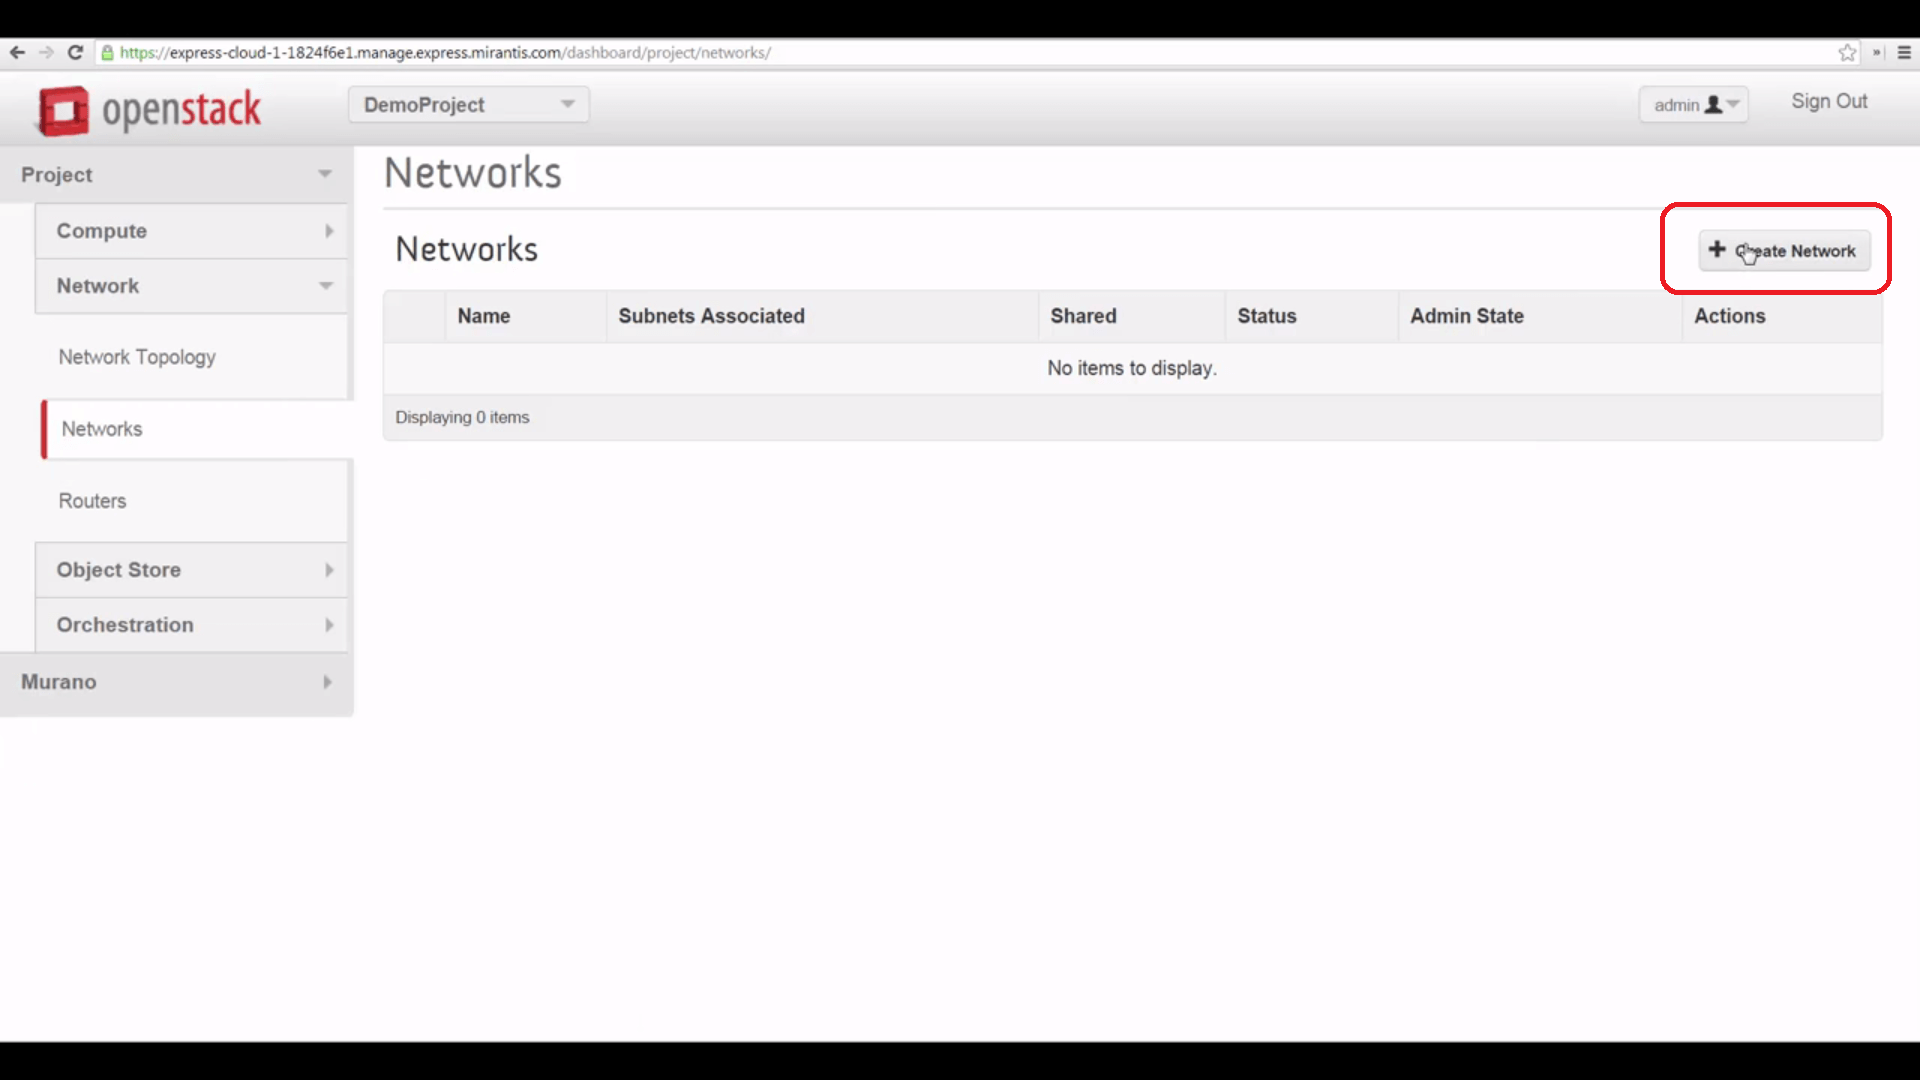
First, we go to Networks, and we create a new network, giving it a name.

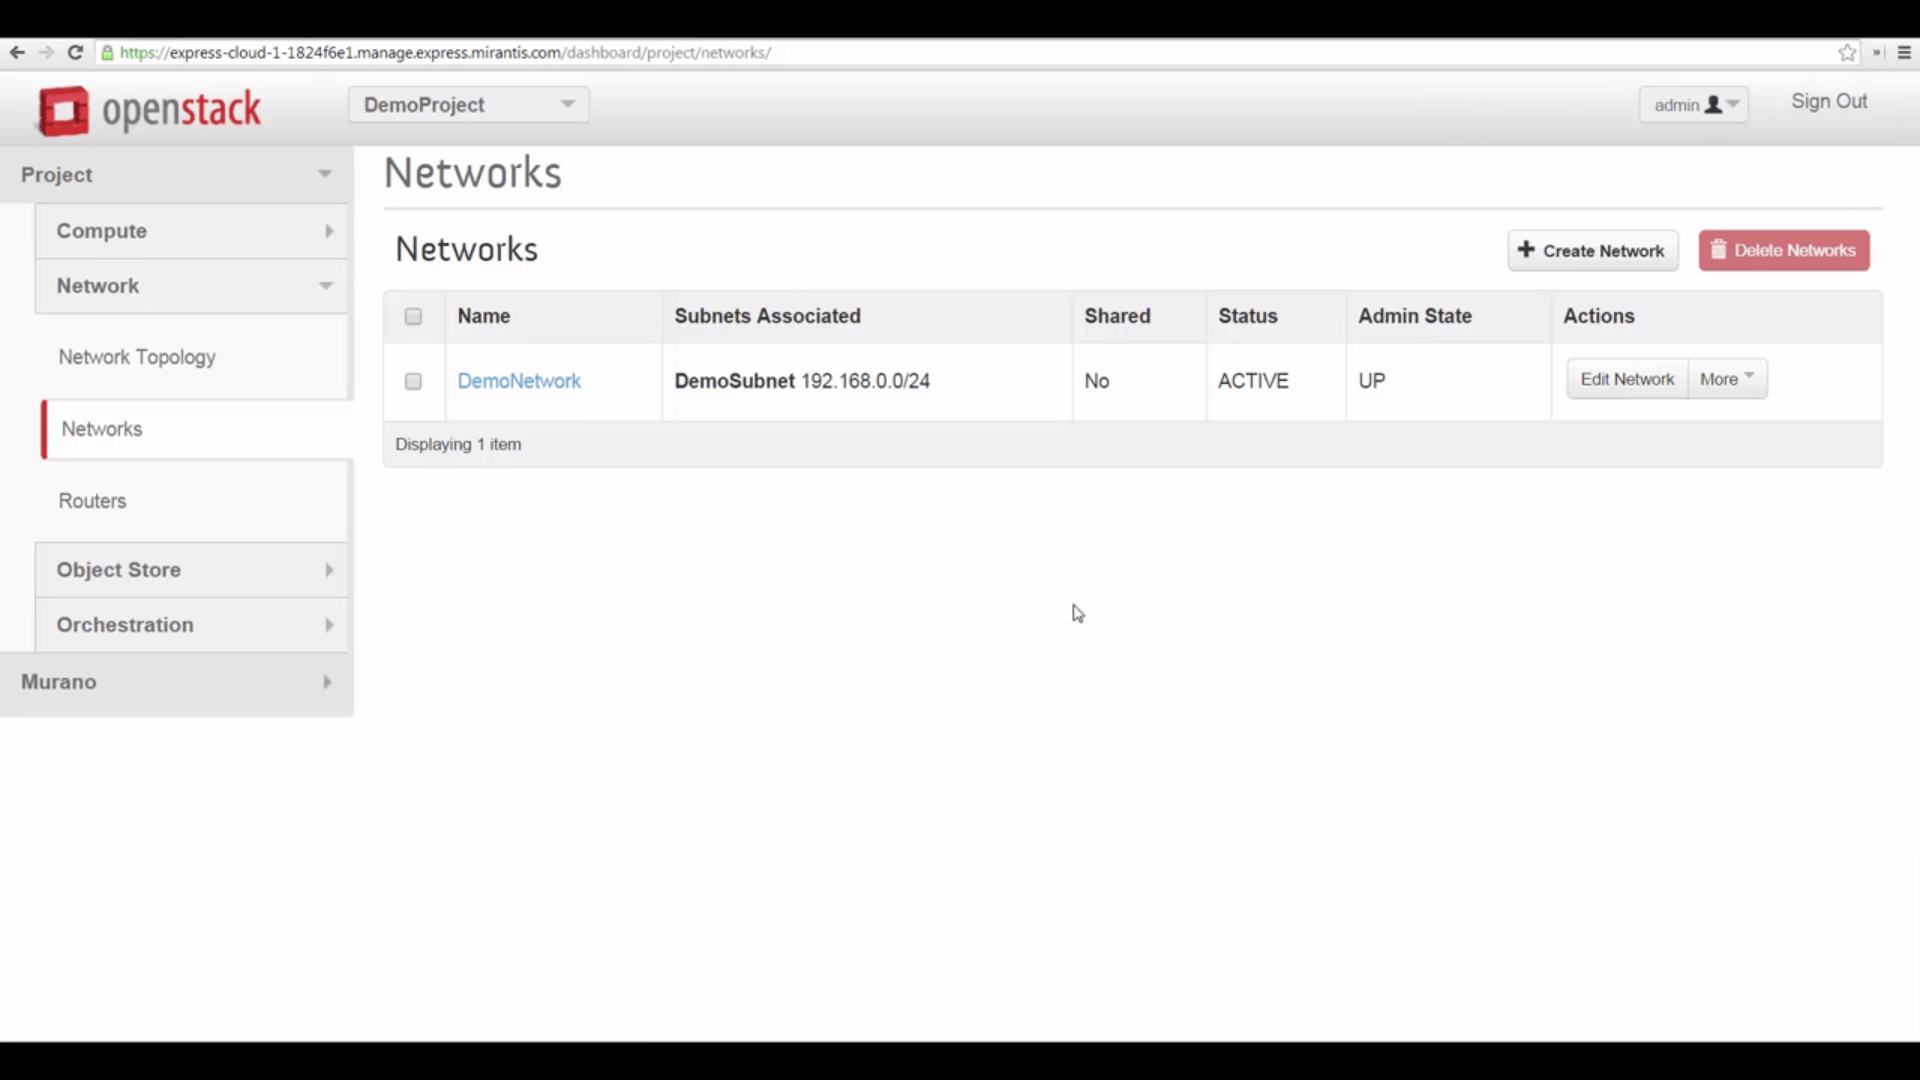
Then we’ll specify a subnet, naming that as well, and specifying a local IP address range that’s convenient, using CIDR notation. The conventional choice here is something like 192.168.0.0/24.
Since we want our VMs to have internet access, we’ll also configure a gateway address — the corresponding default is 192.168.0.1, which Horizon will use if we leave this field blank.


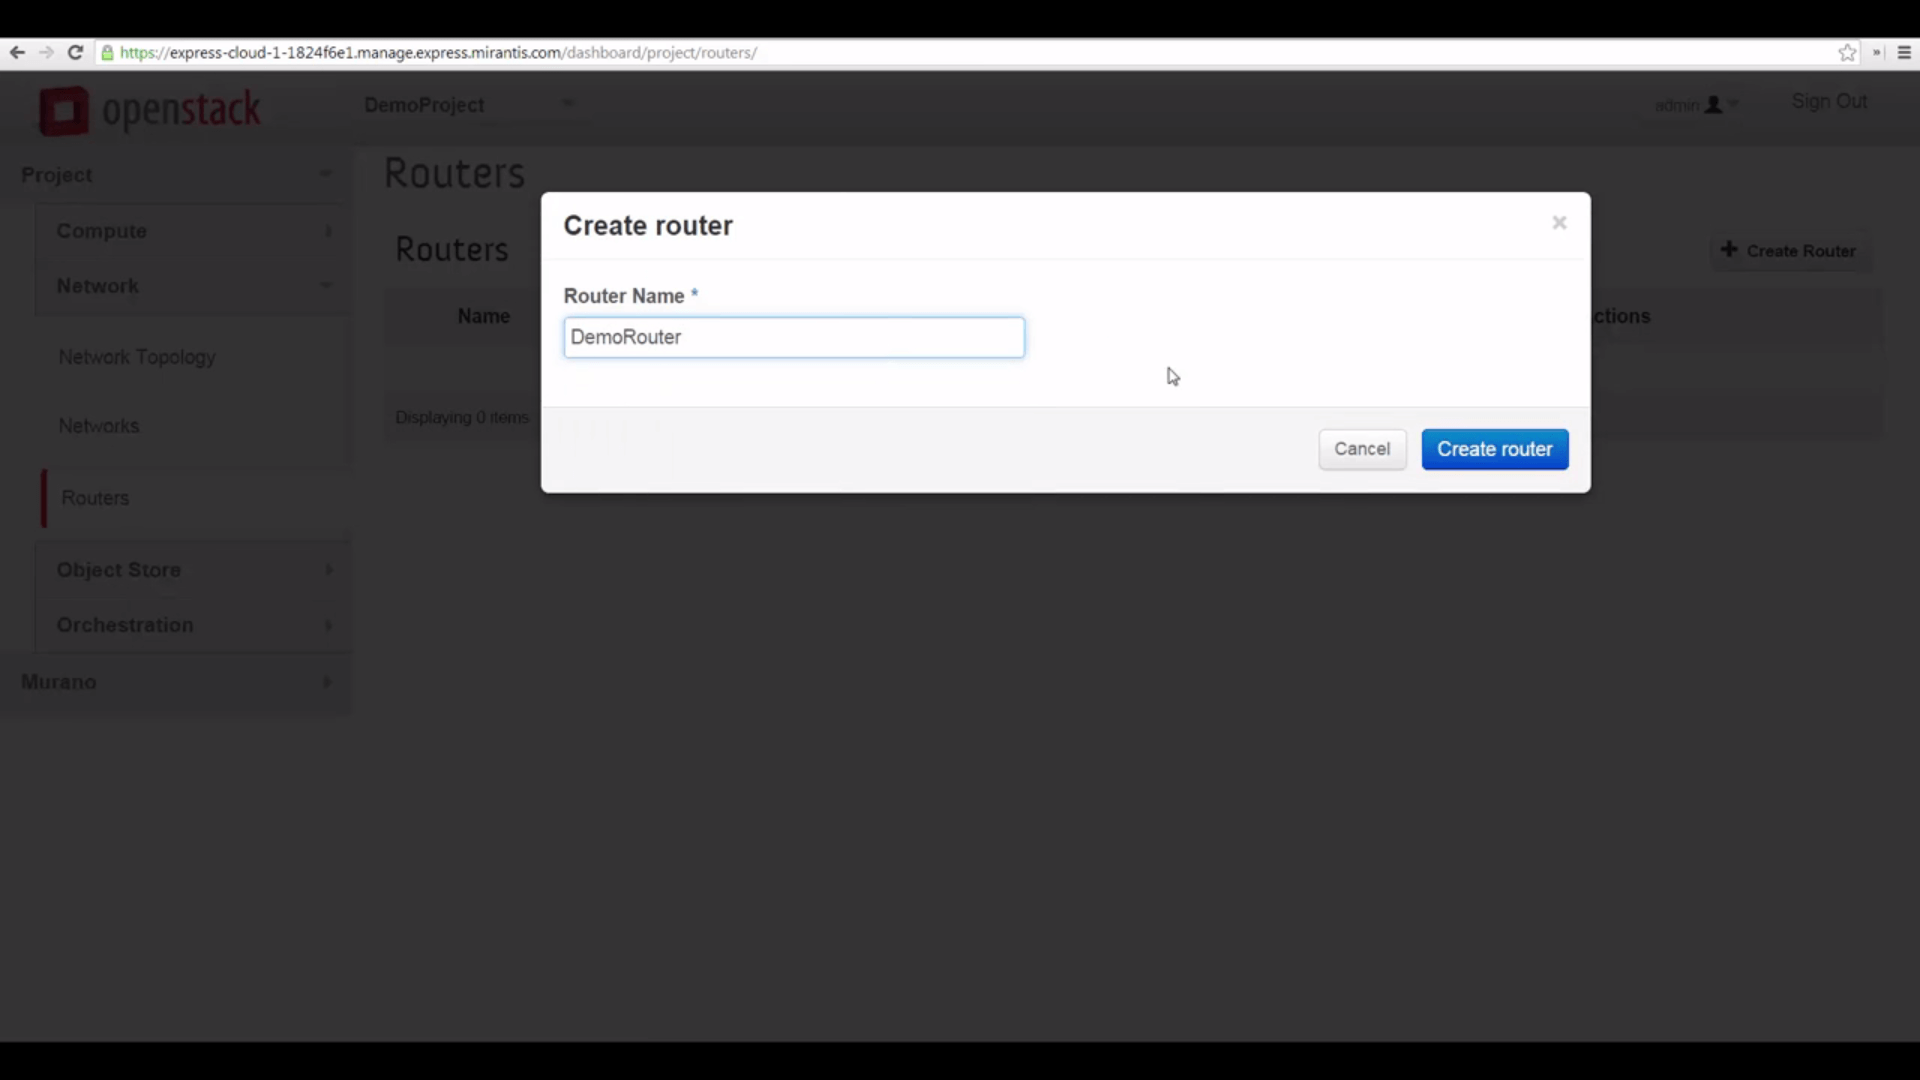
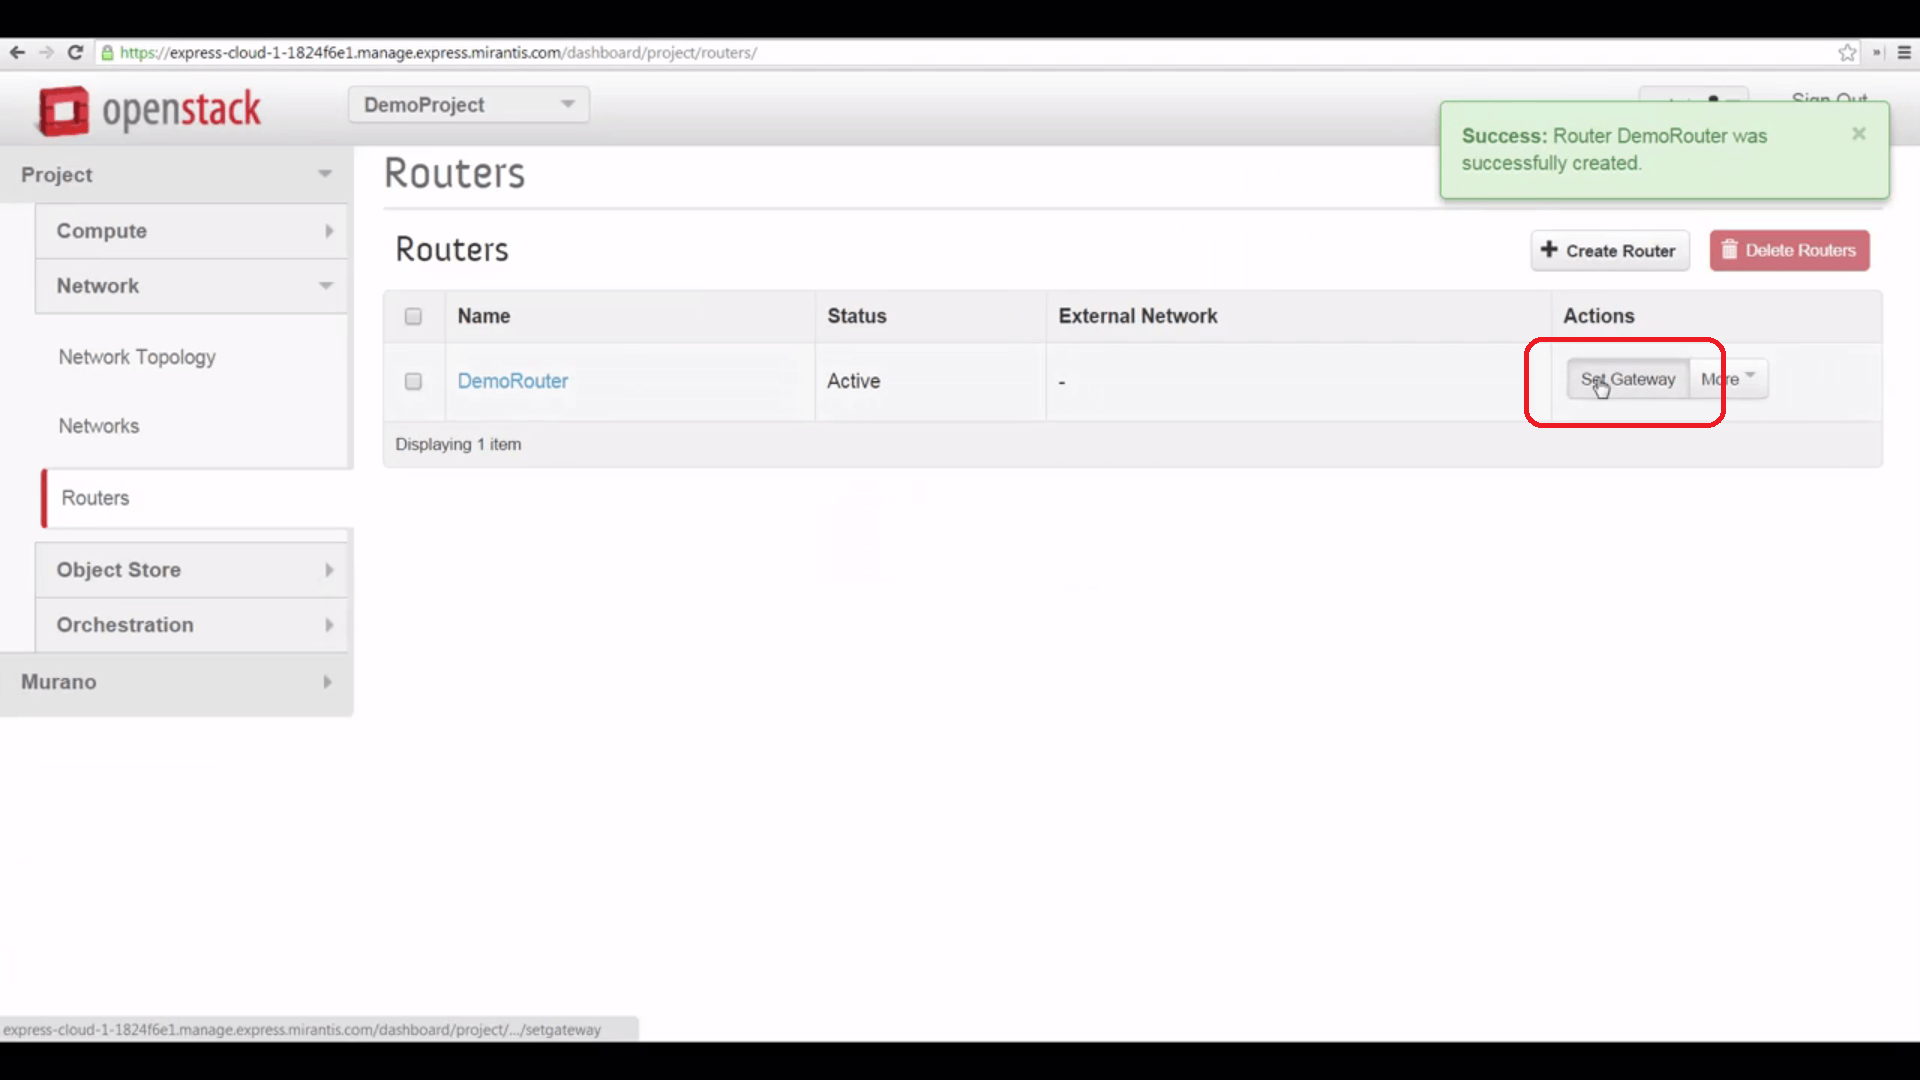
Now we’ll create a Router to connect our local subnet to the shared external network. Here, all we have to do to start is give it a name, to start.
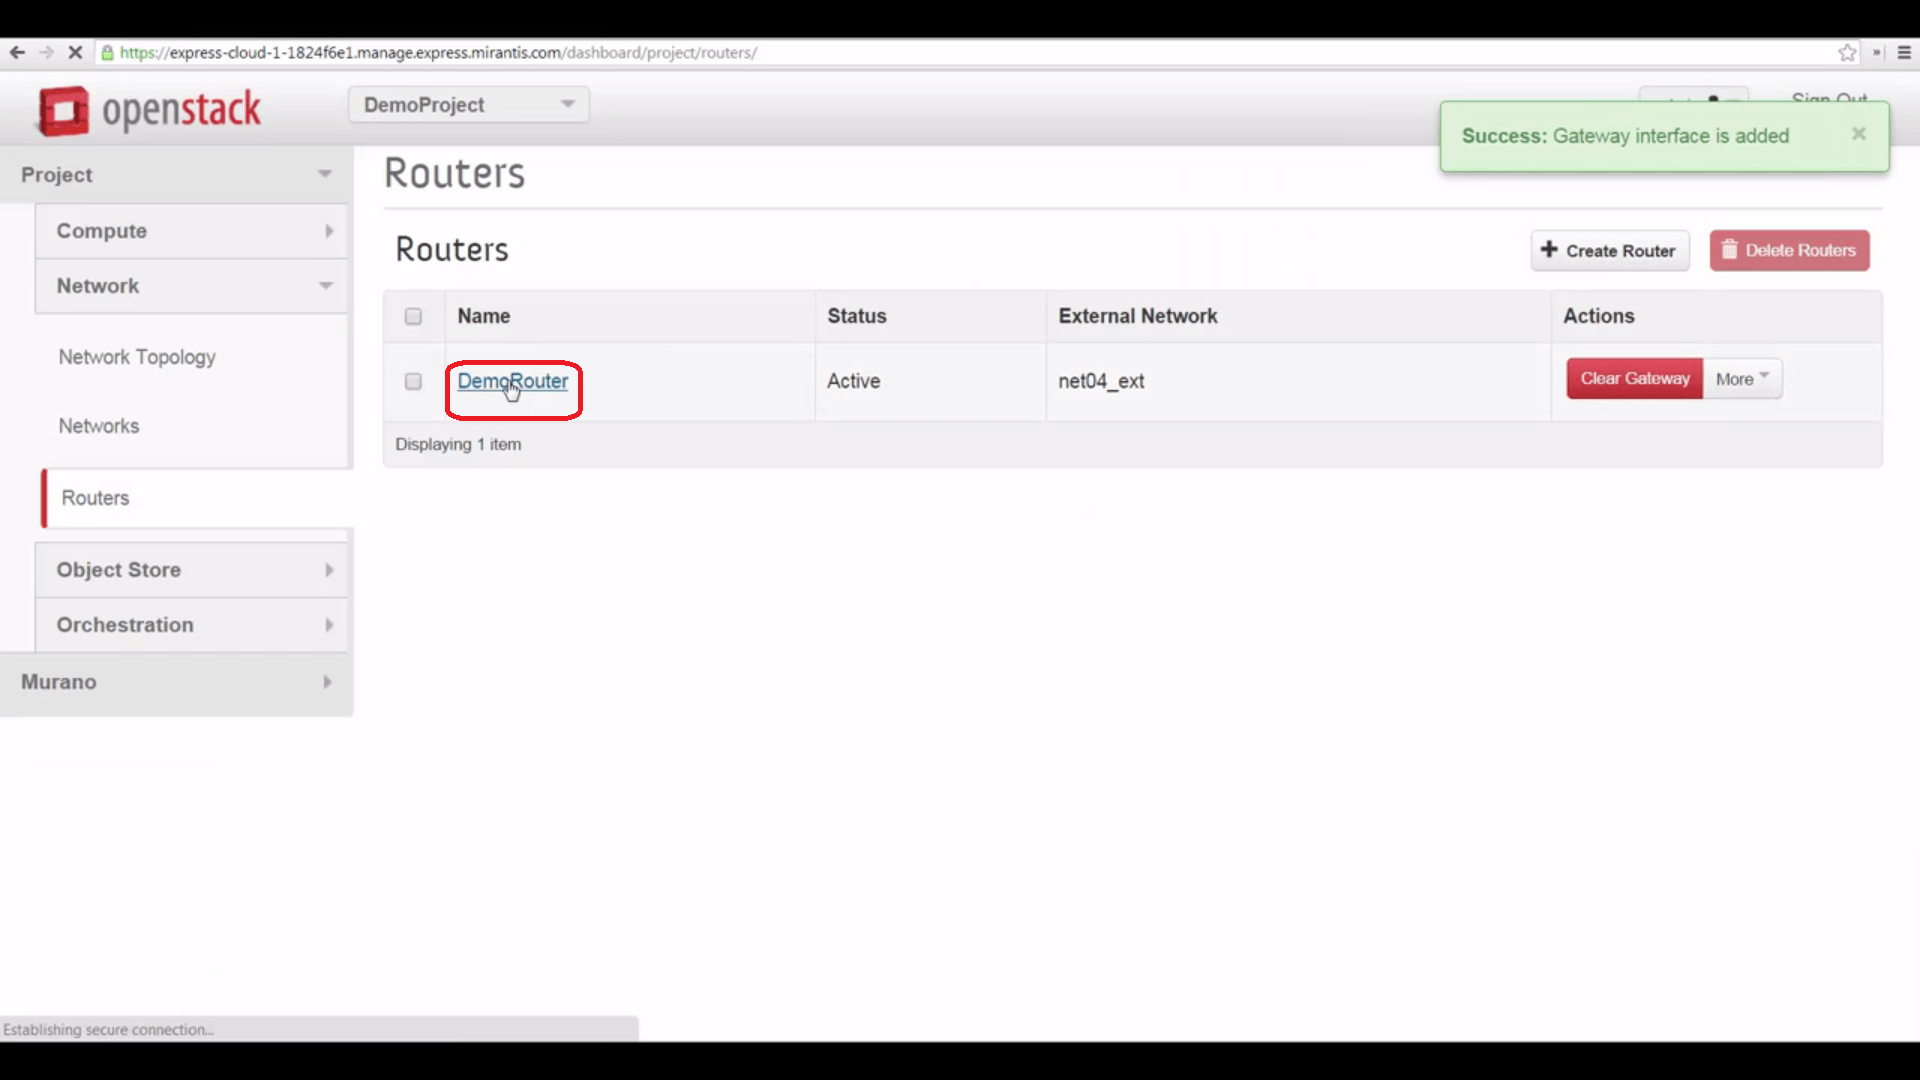
Then we can click the Set Gateway button, and point it to the net04_ext external network.

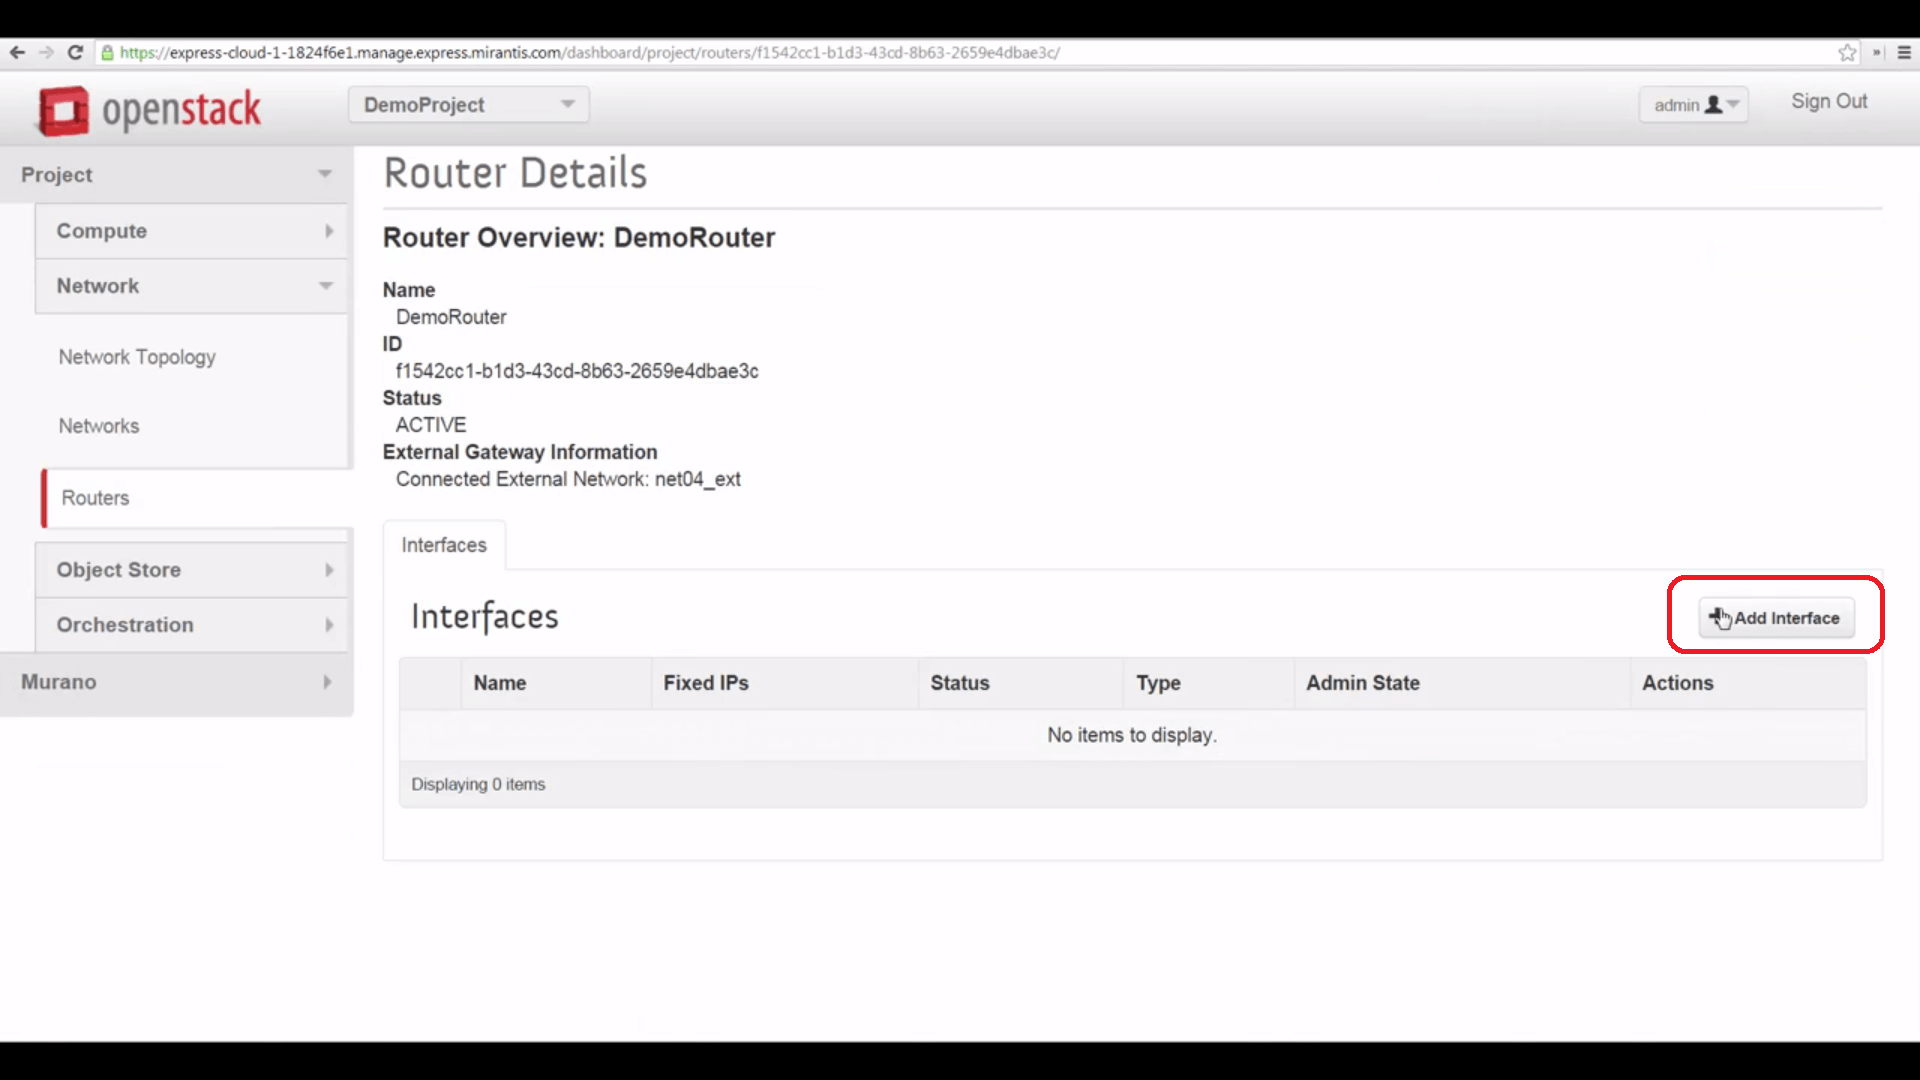
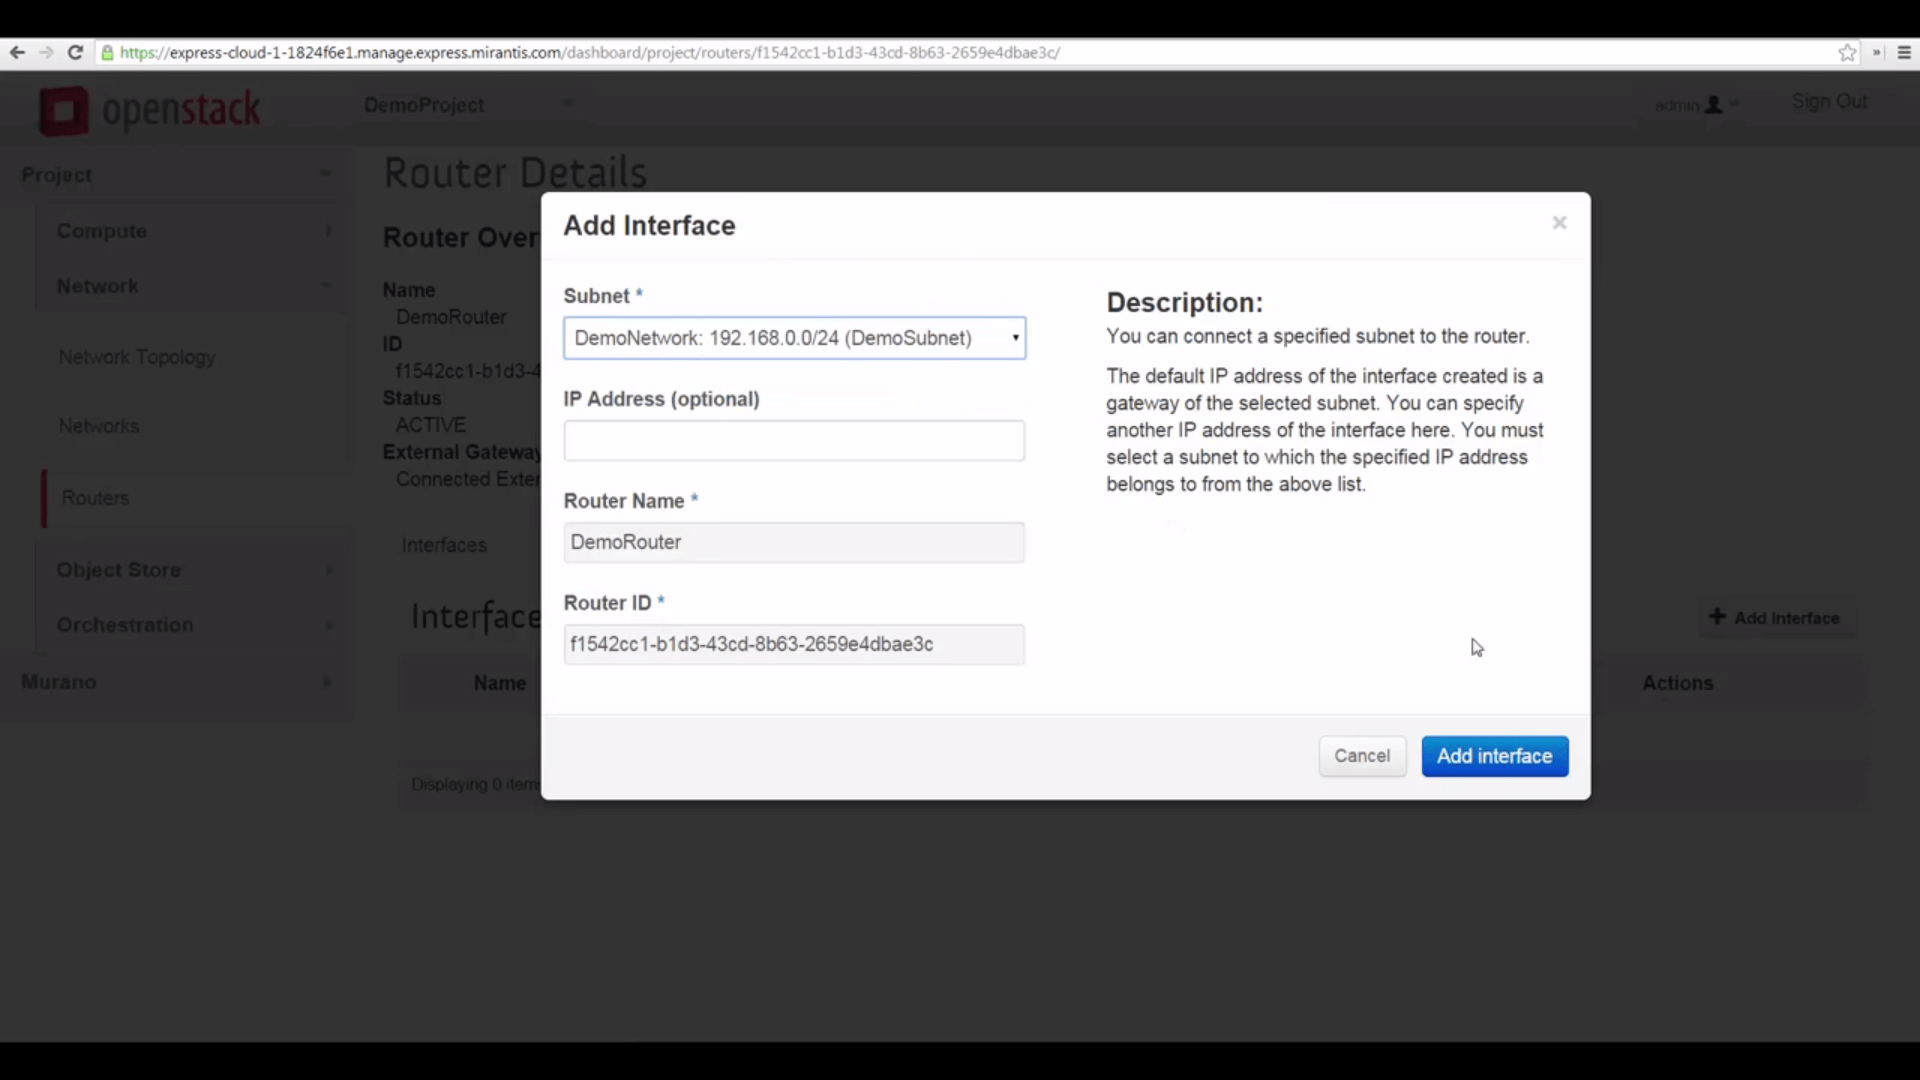
And finally, we can click the Router’s name and add an interface to our local network, bridging that to the external one.

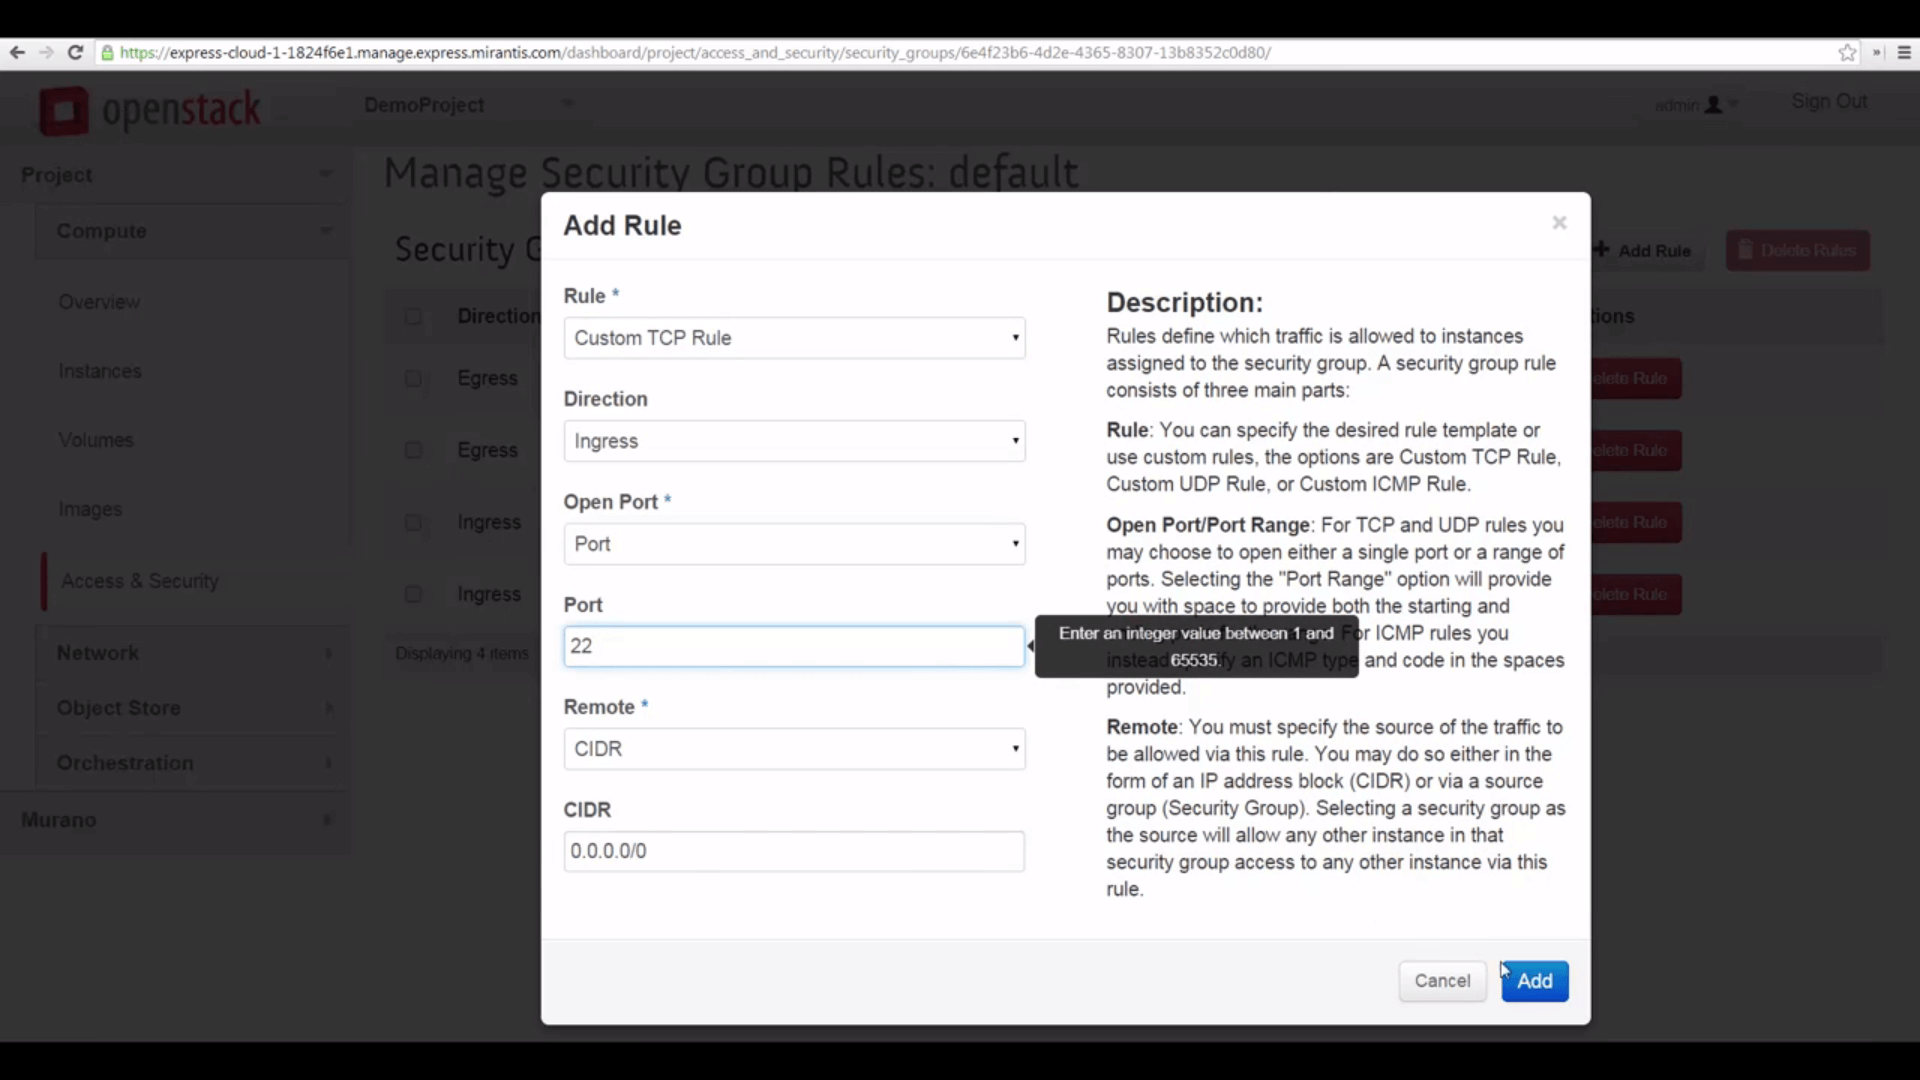
One last step, which can save you some head-scratching. When a project is created, it inherits the default security group with only the default settings. So to make VMs accessible via SSH from the internet, you’ll need to visit Access & Security->Security Groups and edit the default group’s rules, adding an inbound rule that allows traffic on port 22.


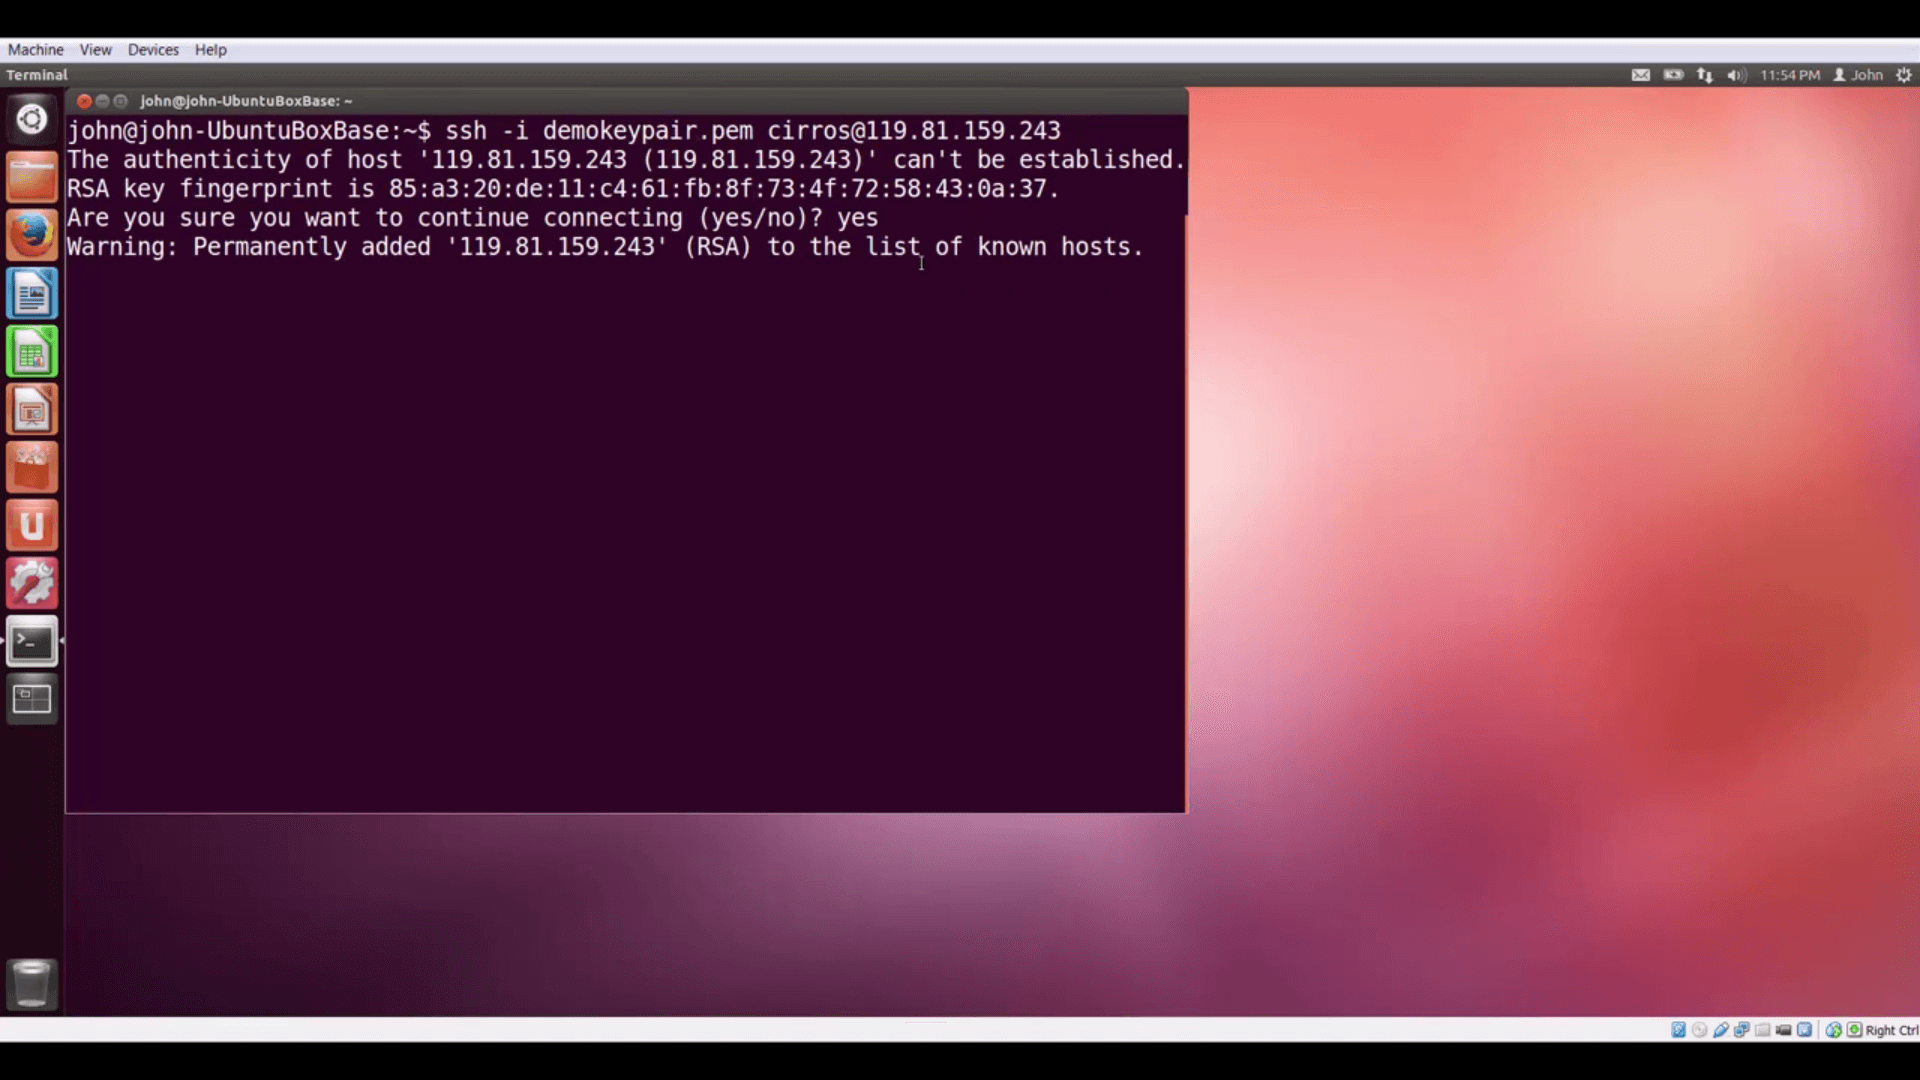
Now we can make VMs nternet accessible by giving them floating IP addresses from the external network pool. Does it work? Let’s start a VM, give it a floating IP, and see if we can connect to it. Success!
Finally, let’s log out of Horizon, and then back in, as the project user we created. As you can see, we’re taken directly to the project’s Overview, and have no option to switch projects: this is now our environment.
Now that we’ve learned about projects, our next tutorial will offer an overview of Murano, the application catalog.
Resources:
- Mirantis OpenStack Express 2.0 Documentation
- Mirantis OpenStack Express Operations Guide
- Manage Projects and Users
Check out Express for yourself at https://express.mirantis.com.


