
How to work with images in OpenStack

In most cases, the most important reason for installing OpenStack is to be able to provide virtual machines in one form or another, and to make that happen, you’re going to need images.
What’s an image?
An image is a binary blob that reproduces the contents of a disk at a particular point in time. In cloud environments like OpenStack, getting a virtual machine running requires you to define a virtual hard drive (or virtual SSD) with particular storage capacity, and select an image to install on it.
When creating a new VM, this may be a basic operating system image (for example, a recent version of Ubuntu Server or some other Linux, installed in a basic, vanilla configuration, as approved by your organization). Or it can be an image that’s been fully-configured to serve a particular need: for example, your organization’s approved Linux, with an entire suite of approved language versions and developer tools pre-installed – or many other things. You can then (on OpenStack as on other cloud platforms) make further changes by interacting with your virtual machine, and save an image for your own, or others’ use. There are also various ways to create images outside of the cloud environment (e.g., on your desktop) and upload those image files for use on your cloud.
You can think of images as templates from which you can launch one or more virtual machines, or instances. Organizations and developers often curate and maintain collections of approved images with varying configurations, all to make development and operations work easier and faster.
In this article, we'll discuss the following:
Obtaining an image
Customizing an existing image
Uploading an image to OpenStack
To use the examples, you'll need access to an OpenStack cloud. If you don't have one, you can try the Mirantis OpenStack for Kubernetes free trial
Obtaining an image
You have three options for obtaining an image to use inside an OpenStack cluster.
Create your own image from an installation ISO
Download a ready-made virtual machine image that has been pre-built for OpenStack
Convert an existing image from another infrastructure
If you choose the first option, you will need to customize the image to your application needs so that it will run in OpenStack. If you choose the third option, odds are you already have this image customized.
Creating your own image
There are several ways to create your own image, including command line and GUI-driven approaches. You can find a detailed walkthrough of the process for creating a new image here.
Pre-built OpenStack images
Pre-created cloud-ready images are already available for a number of operating systems. When you’re downloading these images, typically they come in two formats: RAW and QCOW2. On the face of it, when you have the choice between the two, many people opt for the QCOW2 image format, simply because it is the native format for the KVM hypervisor utilized in OpenStack.
That said, whether to use RAW or QCOW2 depends on the storage backend and features you will need. Almost all Mirantis customers, for example, should be using RAW, which is the only format that deploys instances using Ceph's Copy-on-Write feature, saving time and space.
Also, QCOW2 images will be converted before running, and sometimes when the images are huge, the server runs out of temp space for the conversion.
On the other hand, if you need image signing, then you need QCOW2, as you can't sign a RAW image.
In either case, you can download the images to your local machine and then upload them into OpenStack, but we recommend simply uploading cloud-ready images into OpenStack directly from the provider’s website. To do this, right click on the image link of the architecture you wish to upload and copy the URL. Use this as the “Image Location” when you are performing the Upload Image process as per the Upload image to OpenStack section.
You can find a complete listing of ready-made images via the OpenStack.org official documentation.
Cloud base images that can be used natively with OpenStack include:
Ubuntu
Canonical maintains an official set of Ubuntu cloud images.

Fedora
Fedora maintains an official repository of cloud base images.
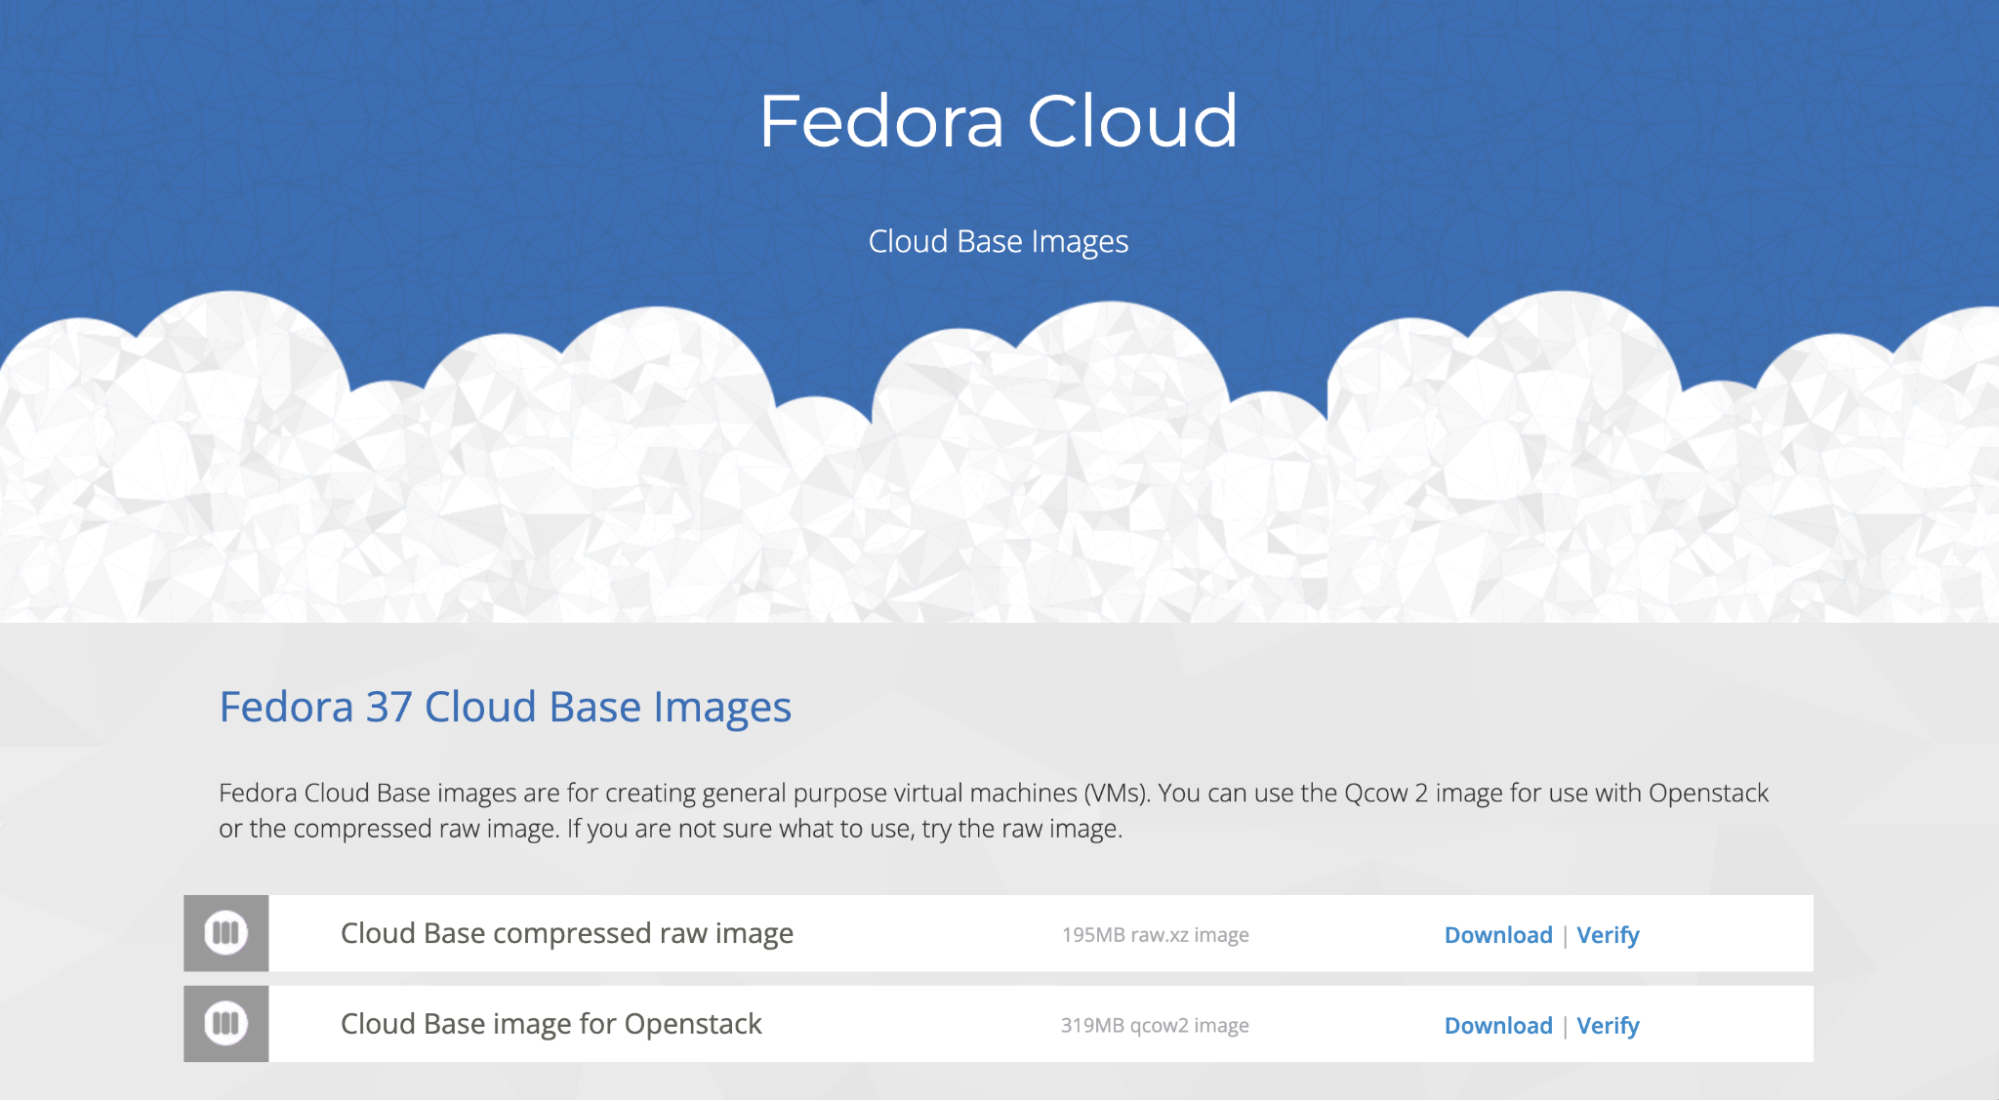
You will need to use the QCOW2 image because the RAW image is in a compressed XZ format that isn’t natively supported by OpenStack and needs to be extracted before uploading to OpenStack.
Microsoft Windows
Cloudbase provides a link to Microsoft Windows Server 2012 images using both Hyper-V and KVM; read and accept the license agreement, and download the KVM version. Because the download is gated by the EULA, you'll have to download locally and then upload directly rather than uploading directly from the Cloudbase site.
Cloudbase also enables users to build images based on Windows Server 2016 and 2019 as well as Windows 10 using their Cloudbase Imaging Tools.

Debian
The Debian project provides Debian cloud base images on their website, as well as instructions for upload to OpenStack.

Arch Linux
The Arch Linux project provides automated builds of cloud base images (including in QCOW2 format) on GitLab.

Converting an image
Many users already have a pre-existing environment somewhere—an internal cloud running on VMware infrastructure, say, or a public cloud on AWS. While it’s often easier to build a fresh new environment on OpenStack, you may sometimes wish to take an existing virtual machine in one of these environments and copy that machine into OpenStack.
For instance, if you've already spent time hardening a golden image template in your private VMware infrastructure, it might be easier to migrate that image to OpenStack than to start over.
In general, regardless of the source infrastructure, the virtual machine migration follows the same general path:
Identify whether you have administrator rights on the virtual machine
If you have administrator rights, you will make the necessary OS changes prior to converting the image to QCOW2
If you do not have administrator rights, you will make the necessary OS changes after converting the image to QCOW2
Convert the source image format to the QCOW2 format for OpenStack
Upload the QCOW2 image to OpenStack
Launch instance from uploaded image
Upload the image
There are two ways to get your OS image into OpenStack:
GUI-based upload: This process uses the Horizon dashboard, and is convenient from a user standpoint.
Command line upload: This process is done strictly through the command line, and is convenient from a scripting standpoint, or if you prefer not to use the GUI.
GUI-based upload using Horizon
Uploading an image via the GUI is covered in detail in the official OpenStack Documentation, but here's a brief summary:
In a new browser window, open the OpenStack Horizon dashboard. If you're using Mirantis OpenStack for Kubernetes (MOSK), you can get the Horizon URL from the MOSK configuration page; otherwise, ask your OpenStack administrator where to access Horizon, and with what credentials.
Log into Horizon using the credentials used when creating the cloud.
On the left, click the Project tab and click “Images & Snapshots”
In the top right, click “+Create Image”
Complete the dialog. If you are uploading a local file, set the Image Source to Image File. If you are using an external URL, set it to Image Location. For example:

6. Create Image: Depending on your connection and the size of your image, this may take some time. The Create Image pane will close when the process is complete.
Command line upload using Glance CLI
To upload your image from the command line, you can use the Glance command line client. To do that, you'll upload the file to the controller, then use the client on the controller to actually add the image to OpenStack. The steps will generally look like this:
Upload the image file to the controller node: Use a tool such as SCP to upload the image file to the controller node.
Authenticate with OpenStack according to the requirements of your specific environment. (You can find instructions for accessing your OpenStack environment via CLI when using Mirantis OpenStack for Kubernetes here.)
Use Glance to upload the image into your environment. Type the command, substituting the appropriate image name and file location:
glance image-create --name <YOUR_IMAGE_NAME> \
 --disk-format=qcow2 --container-format=bare --is-public=False \
 --file=<PATH_TO_YOUR_IMAGE>
Now we can launch an instance with our new image.
Tip: Leave this SSH session open; you can use the same session for image customization
Image customization
There are a couple of reasons why you would want to customize an image from the default operating system installation. Two of the most common reasons are:
You find yourself installing the same packages/applications every time you create a new instance. For example, perhaps you always install the Apache web server or PHP.
You want a ready-made image of your application that can be utilized for automated cloud-scaling.
How you customize an image depends on what it is you need to do. If you only need to edit files, the official OpenStack documentation has some good instructions for modifying an image.
On the other hand, if the customization requires extensive changes, such as adding packages to the system, you can perform the customization while building the image manually, or if that is not an option, you can create an instance of the image, customize that instance and then snapshot the instance into a new usable image.
In this case, we'll walk through the process of customizing the image we uploaded in the Upload an Image to OpenStack section. Launch an instance of that image onto net04, open a console to it and login with the root credentials. Here we are going to look for the openssh-clients package, which we need to scp files to/from the VM. We'll also check for nc (netcat), which is a very useful tool for testing ACL rules (Security Groups).

Neither are installed, so let's install them:


Similarly, we could install any other packages we want, make changes to configuration files, and so on. The key is that whatever changes we make to this instance will be carried forward to the new image.
When we're ready to create a new image from this instance, we need to perform the following steps in the instance to ‘clean it up’ before we can turn it into a usable image. Some items are just clean up items, and some are necessary to create a functioning image:
yum clean all #Cleans out yum DB
logrotate -f /etc/logrotate.conf #Force rotate logs
rm -f /var/log/*-???????? /var/log/*.gz #Delete rotated logs
cat /dev/null >/var/log/audit/audit.log #Clear audit log
cat /dev/null >/var/log/wtmp #Clear login file
rm -f /etc/udev/rules.d/70-* #Remove dynamic udev rules
rm -rf /tmp/* /var/tmp/* #Clean temporary directories
rm -f /etc/ssh/ssh_host* #Force regeneration of host key on start
rm -f ~root/.bash_history #Clear the root user history
After typing the last command, don’t do anything else on this image.
The next step is to use the nova image-create command to create an actual image from the instance.
If you still have the SSH session open to the controller node from the Upload Image to OpenStack section, switch back to that window; otherwise, open a new SSH session to the controller node and source the admin-openrc.sh file again, providing the proper credentials.
First we will use nova list to display the running instances, and then we'll use openstack image create to create a new image from the running instance by referencing the instance name. For example:
openstack image create
    [--id <id>]
    [--store <store>]
    [--container-format <container-format>]
    [--disk-format <disk-format>]
    [--size <size>]
    [--min-disk <disk-gb>]
    [--min-ram <ram-mb>]
    [--location <image-url>]
    [--copy-from <image-url>]
    [--file <file> | --volume <volume>]
    [--force]
    [--checksum <checksum>]
    [--protected | --unprotected]
    [--public | --private | --community | --shared]
    [--property <key=value> [...] ]
    [--tag <tag> [...] ]
    [--project <project> [--project-domain <project-domain>]]
    <image-name>
NOTE: The console session to your instance will disconnect when you run this. You can just re-establish the console session once it’s complete.
This command creates a snapshot of the updated image, and automatically loads it into Glance so that we can launch a new instance from it.
Any instances launched from the new image will already have the new packages installed:

Congrats! Now you have the ability to create, load, and customize images with OpenStack.
Mirantis OpenStack for Kubernetes provides virtualized infrastructure as a service (IaaS) on a flexible Kubernetes foundation. Learn more here >


